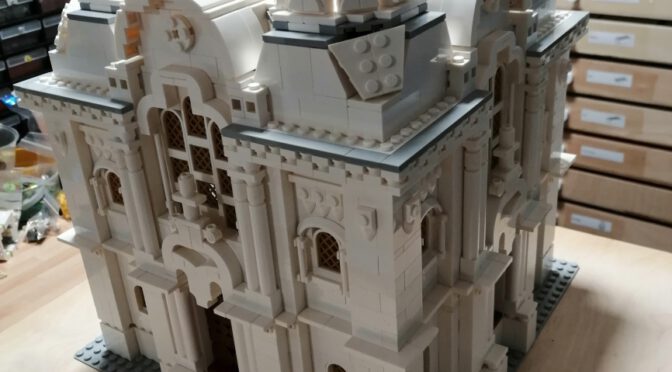
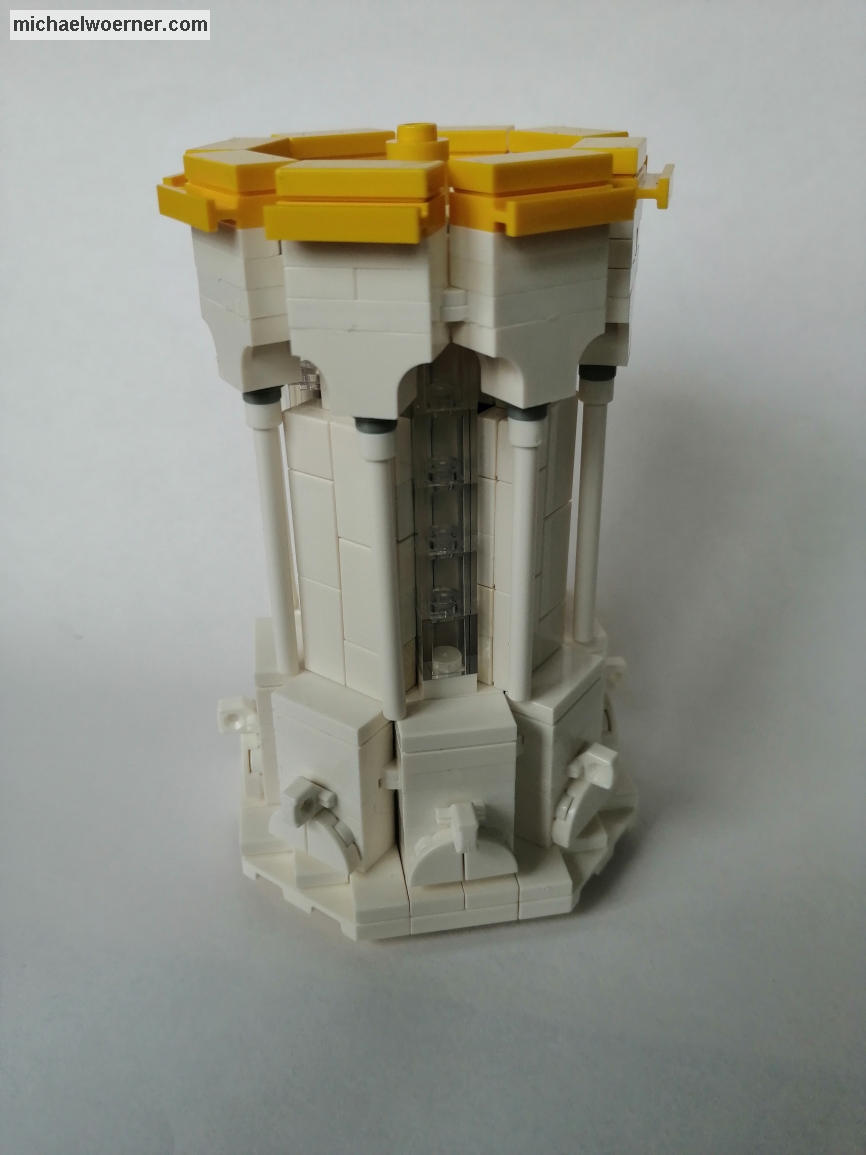
The central tower is built and now comes the construction of the 4 corners on the model. Today I reveal to you that 4 more towers are being built to fill in the corners.
They are relatively small diameter towers with 8 columns and 4 windows. I tinkered a lot and discarded it because it didn’t fit, wasn’t pretty, or just wasn’t sturdy enough. I would like to share my development steps with you and hope that the coming pictures with a little explanation will be sufficient to clarify the difficulties that arise with such a model. Maybe I’ll show you some ideas how to realize such shapes that you haven’t thought of before.
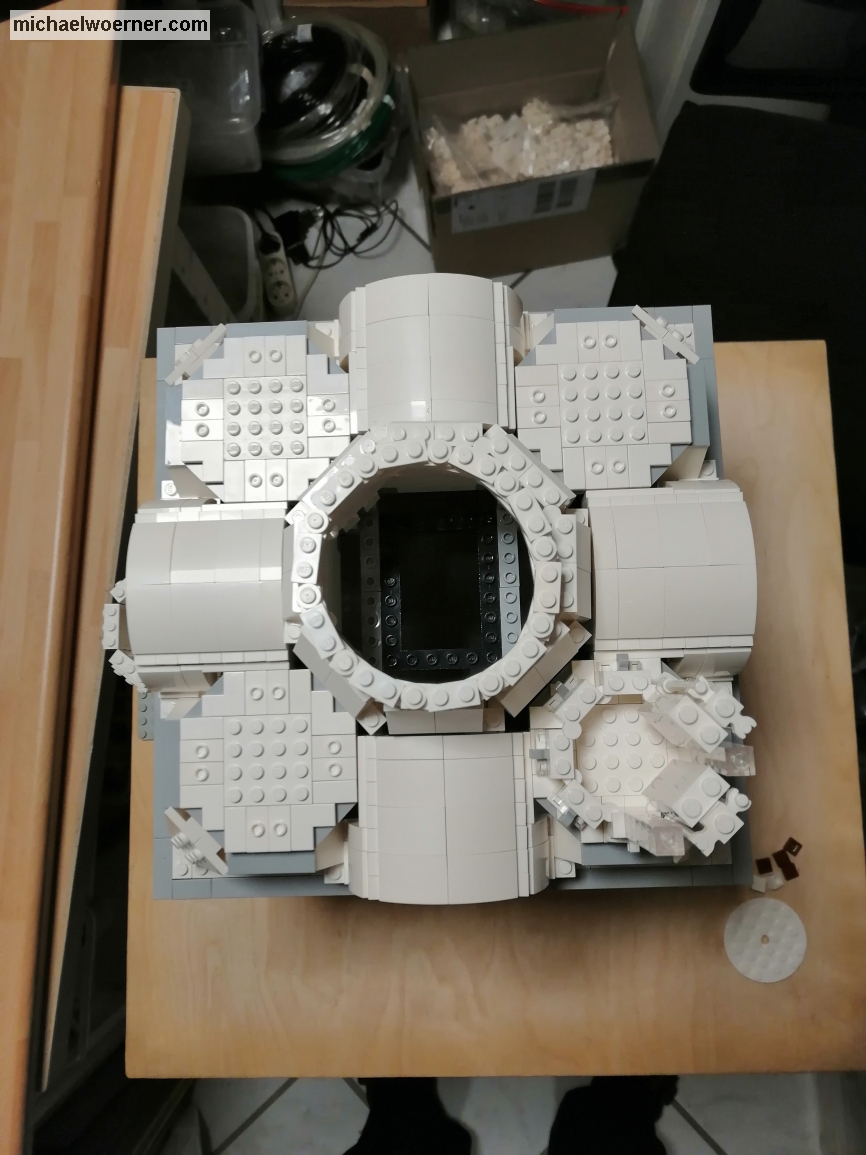
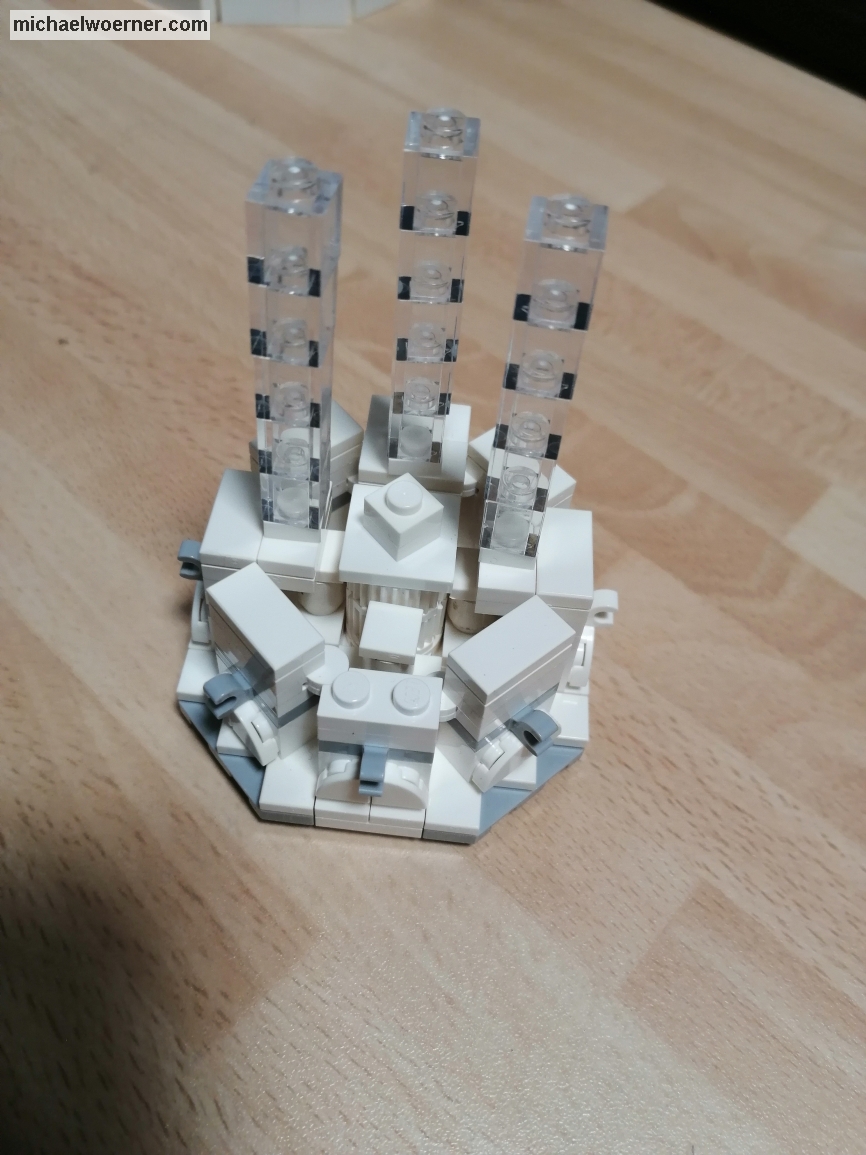
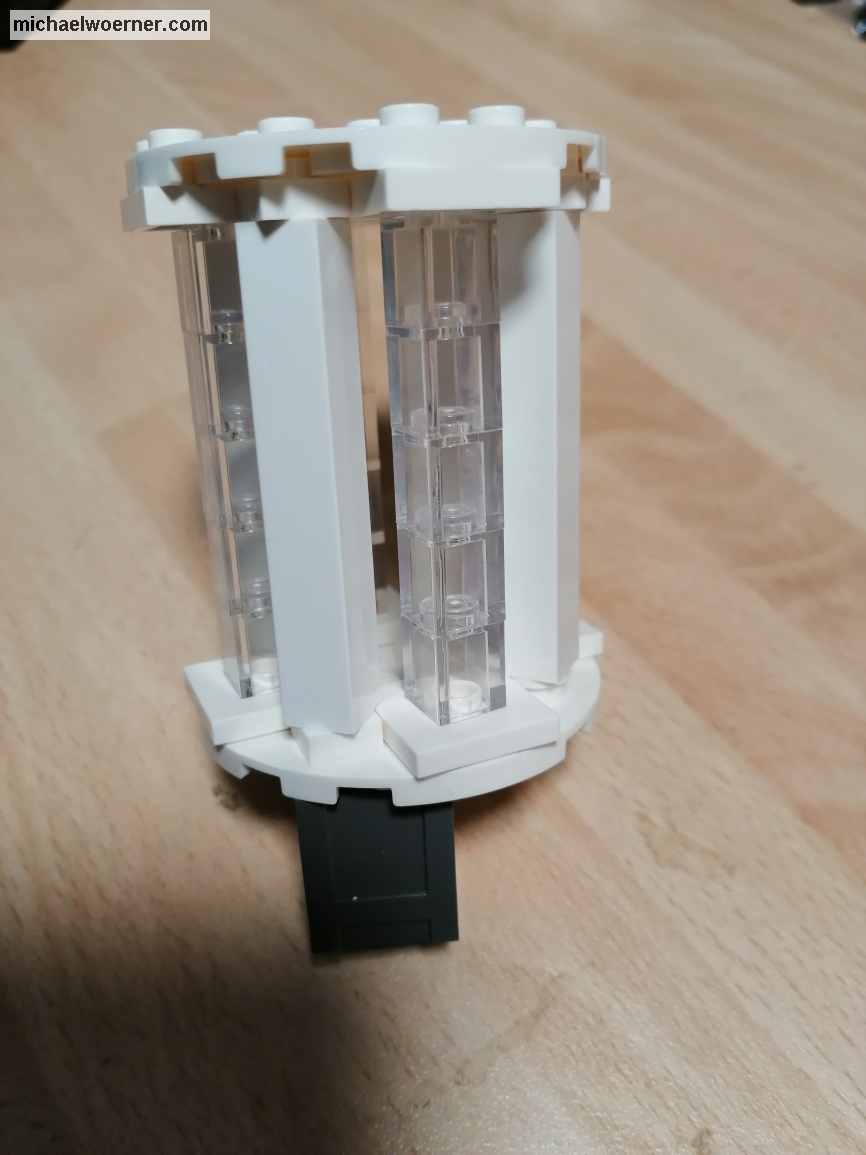
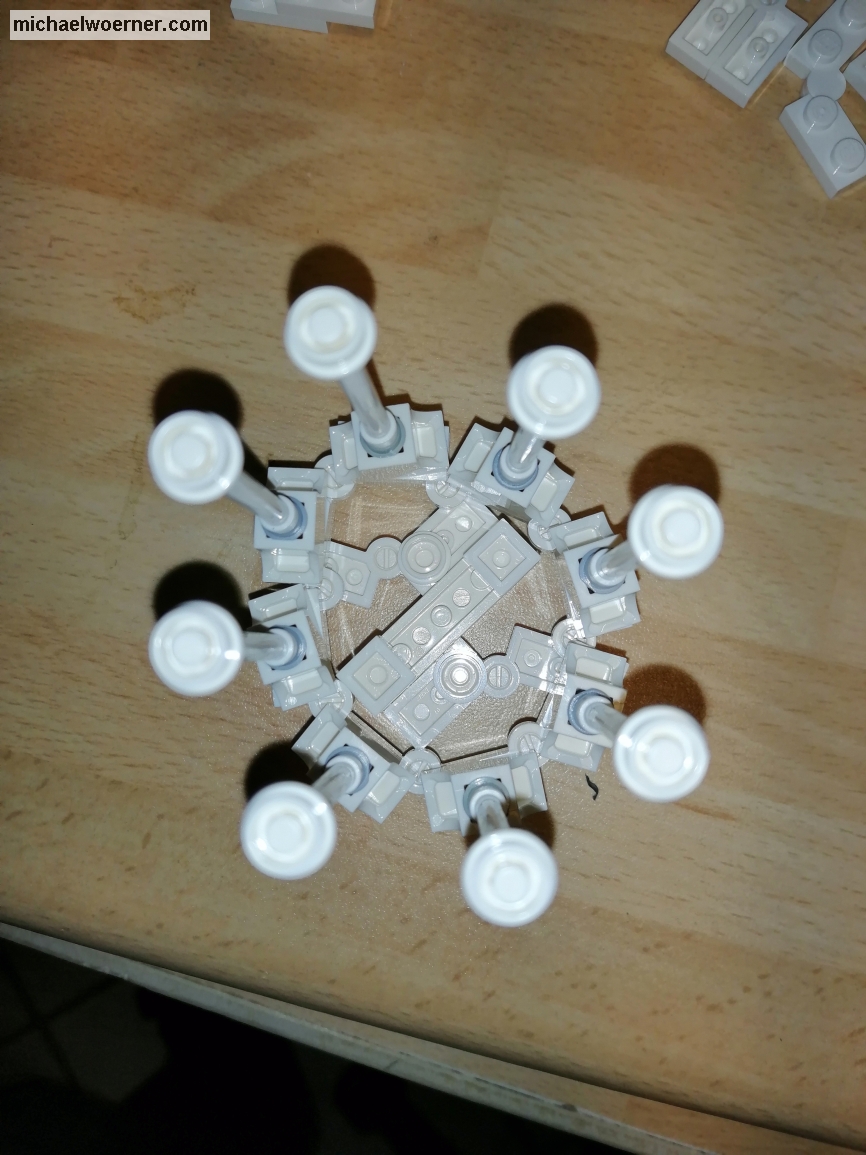
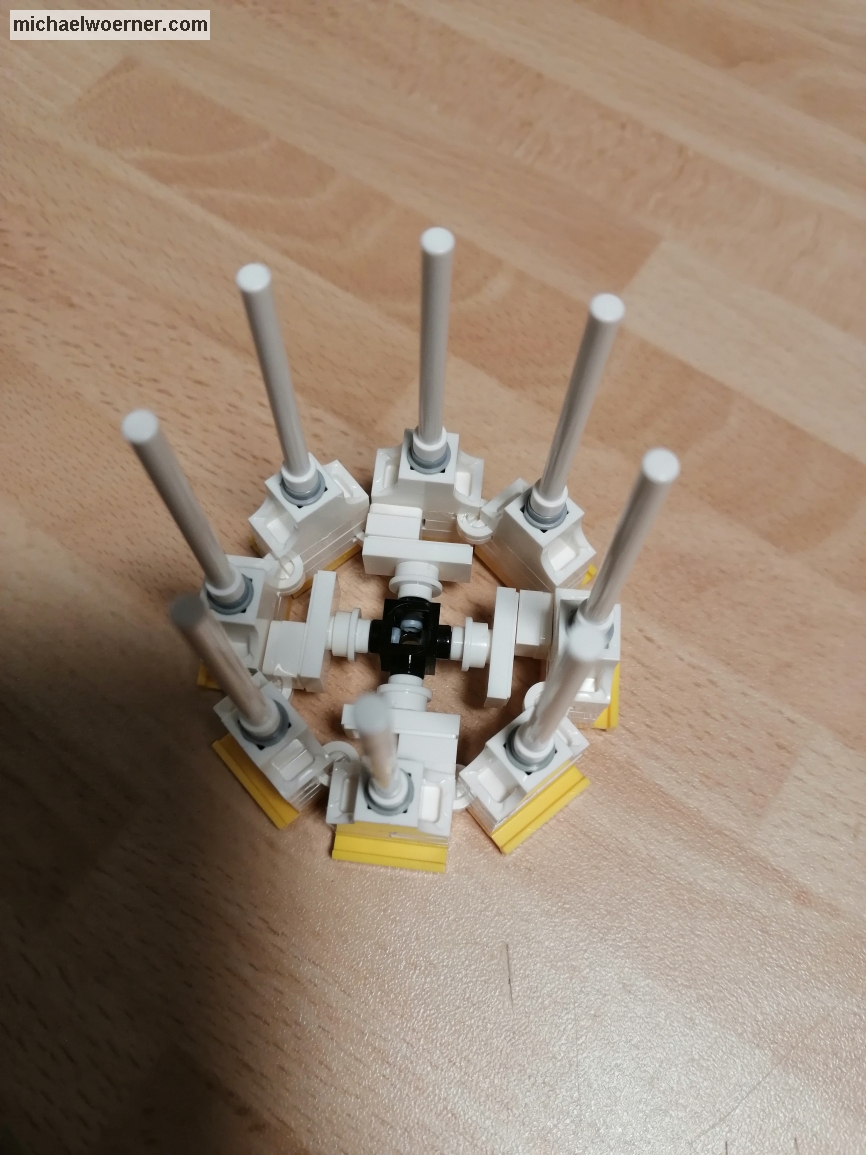
In the pictures you can see, the building corners have 8×8 pins and form an octagon. This is the base on which every tower is built. The inner “stools” are intended to give the windows built above them more stability so that they do not tilt inwards.
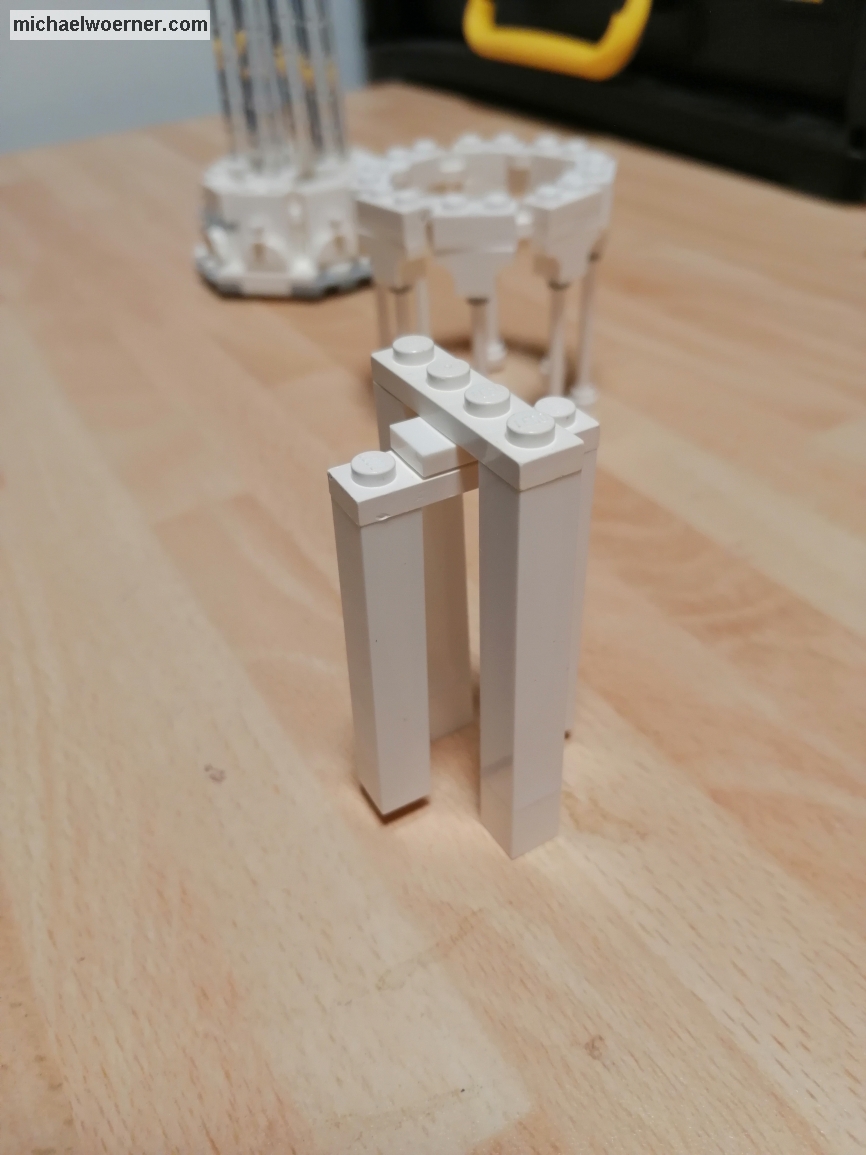
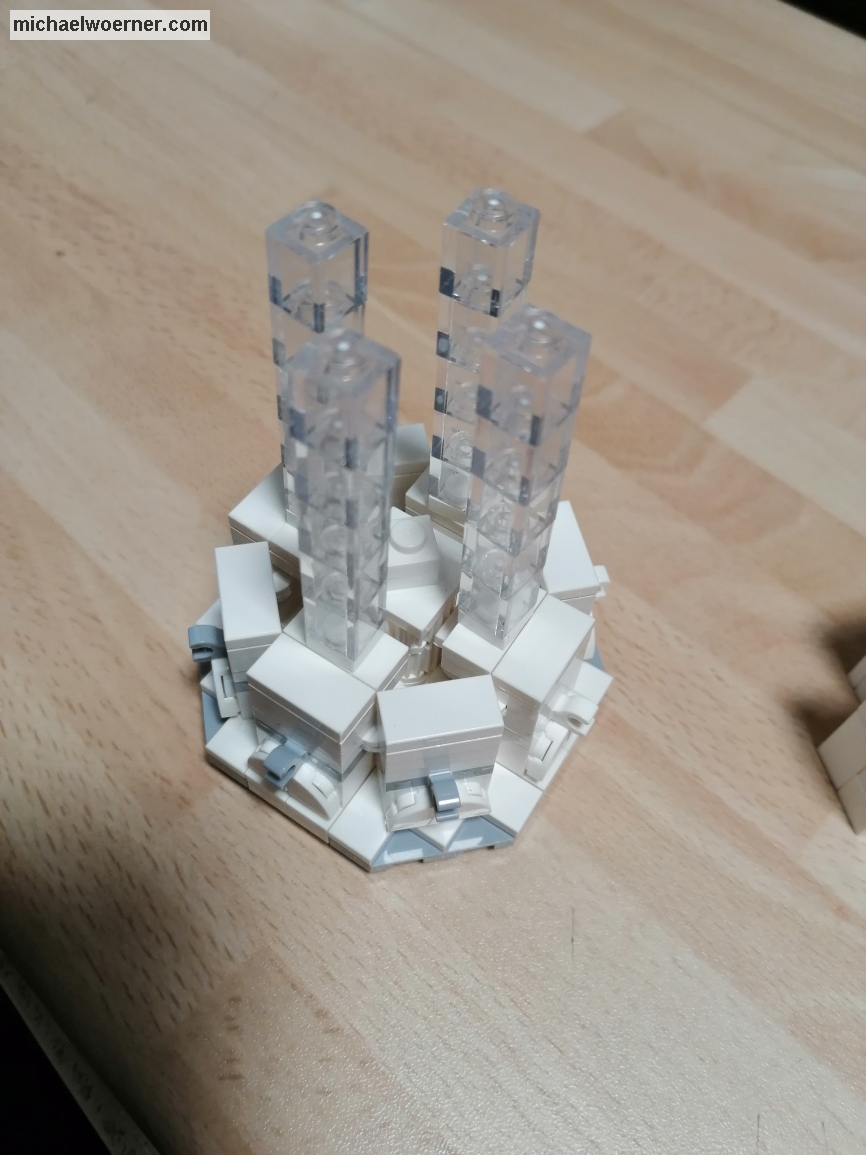
After that, the columns, windows and walls had to be accommodated in some way. As you can see from the previous picture, windows are not the problem. They are placed centered on the jumper. I had a solution that would have worked, but the walls were not high enough due to the plate + jumper + plate construction. To put the ring on it, I would have had to put another jumper on it. I also discarded this version.
But the columns and the walls should become a challenge, because the tower needs to continue above the windows. Finding a stable connection that is evenly round/octagon and fits on the lower part . . .
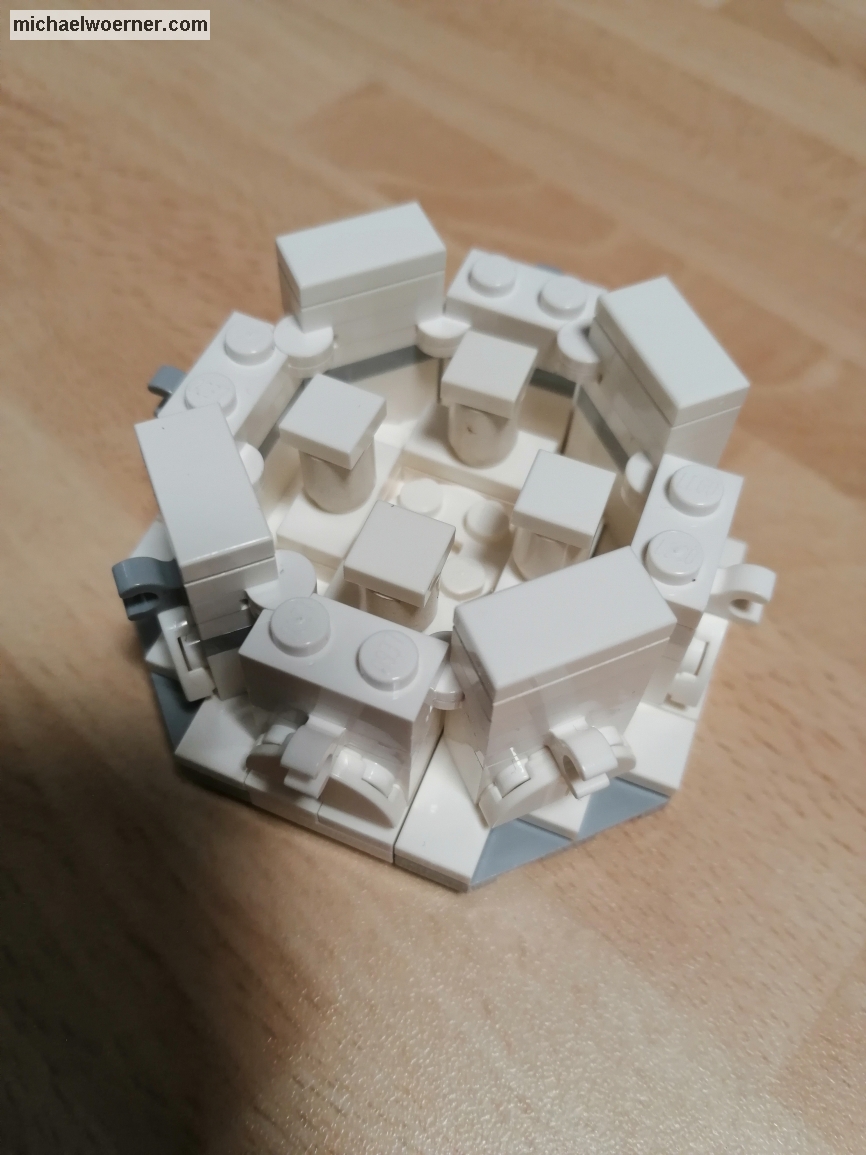
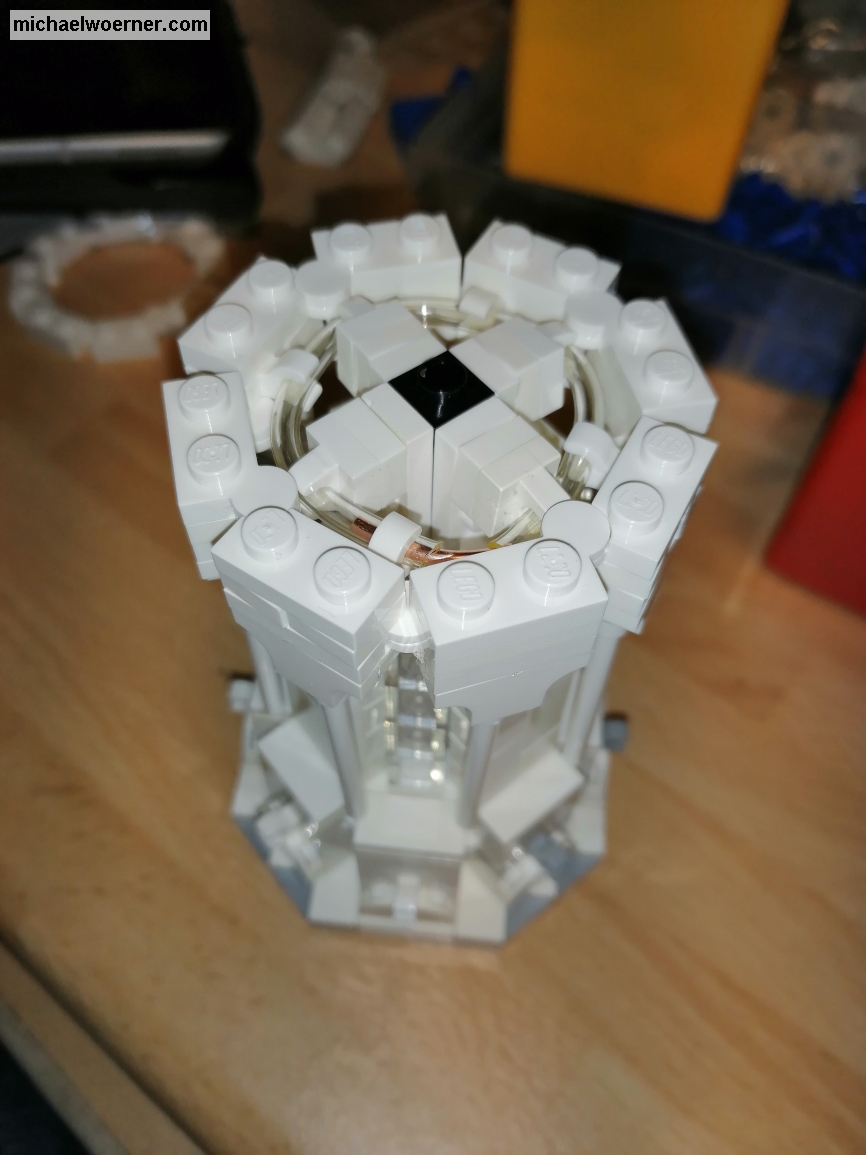
But see for yourself. Here are my (failed) attempts:
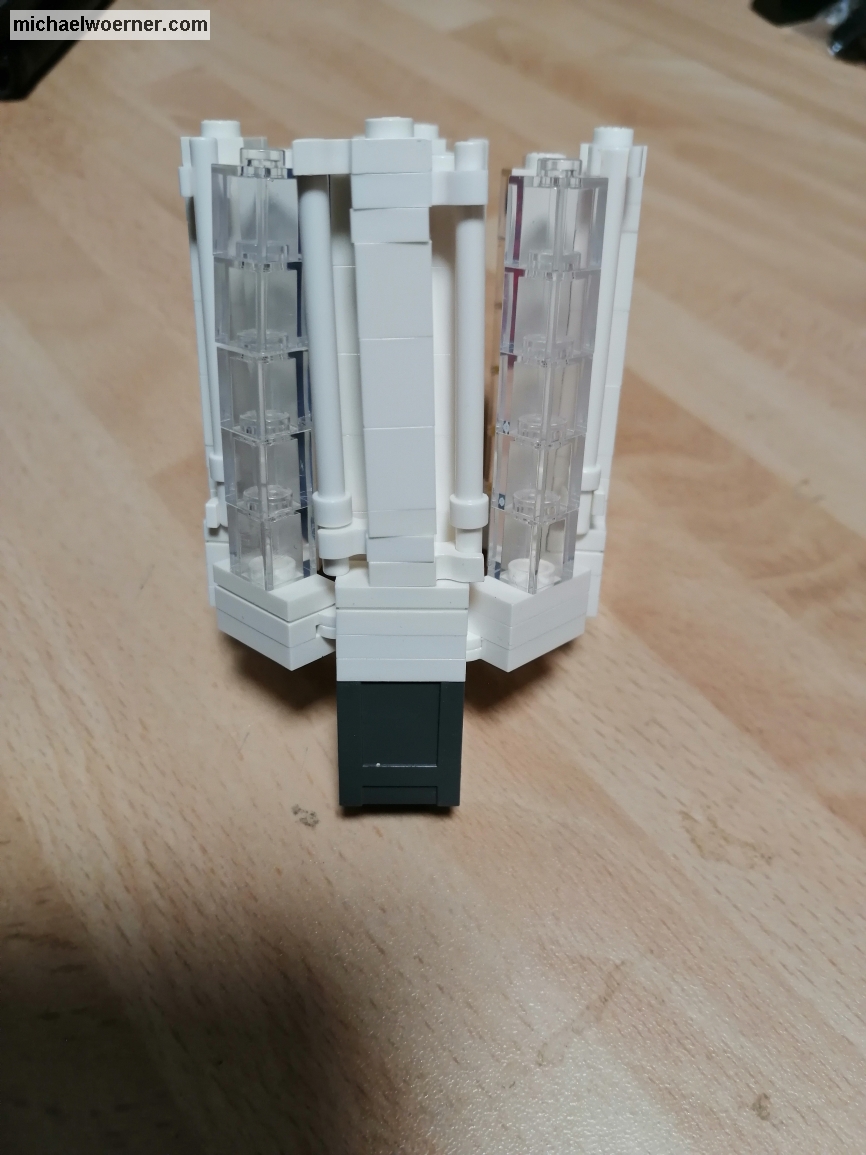
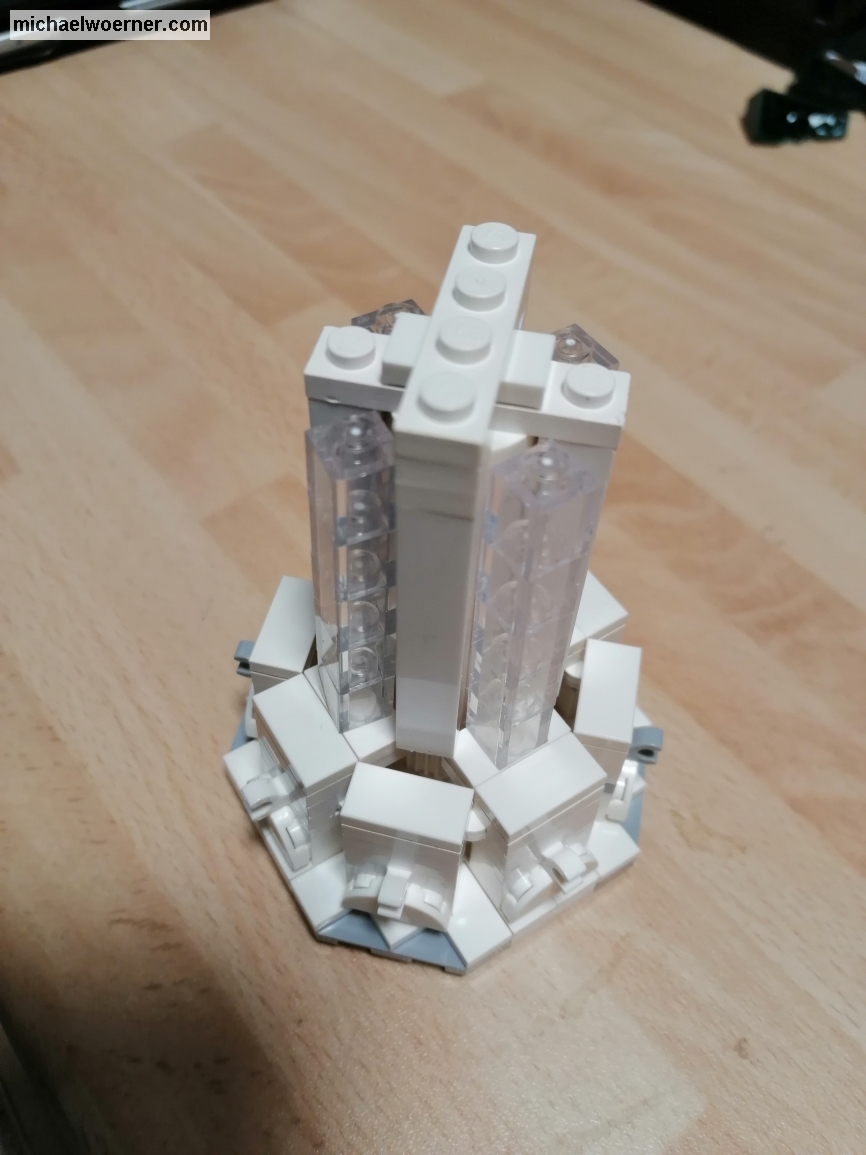
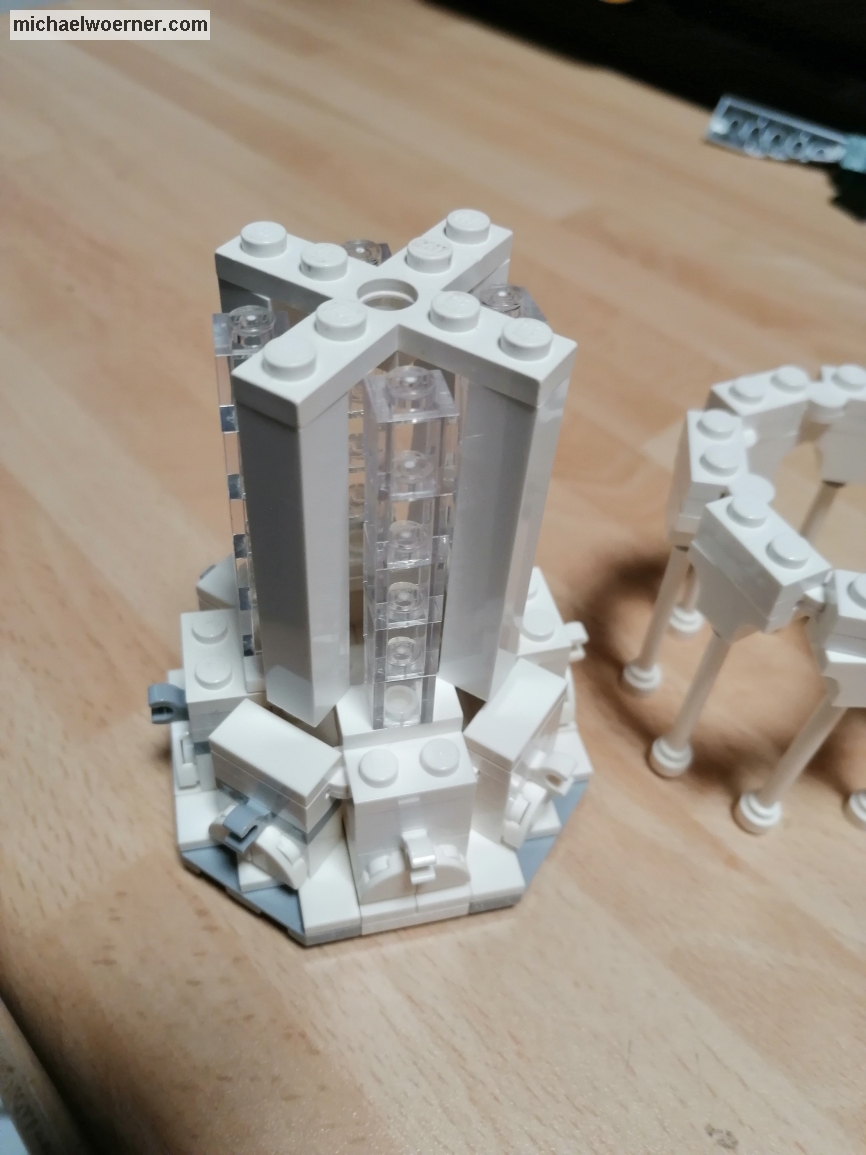
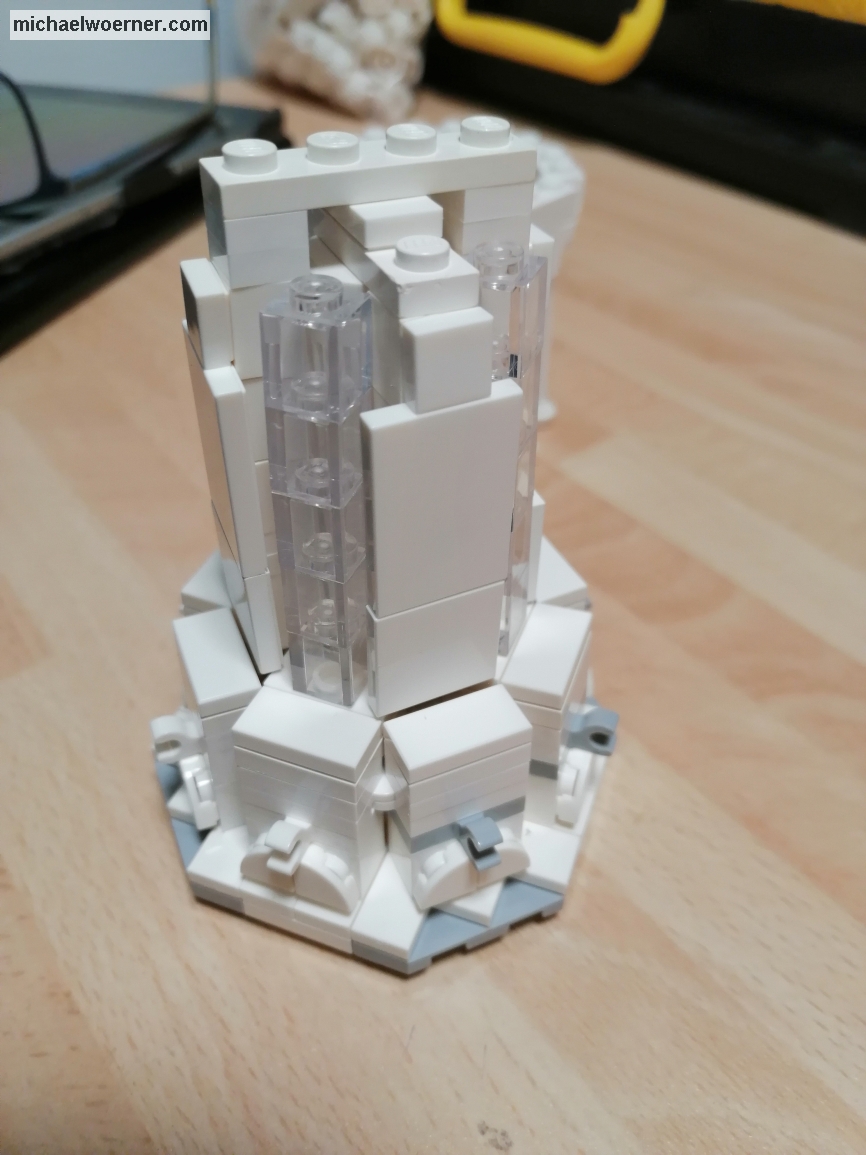
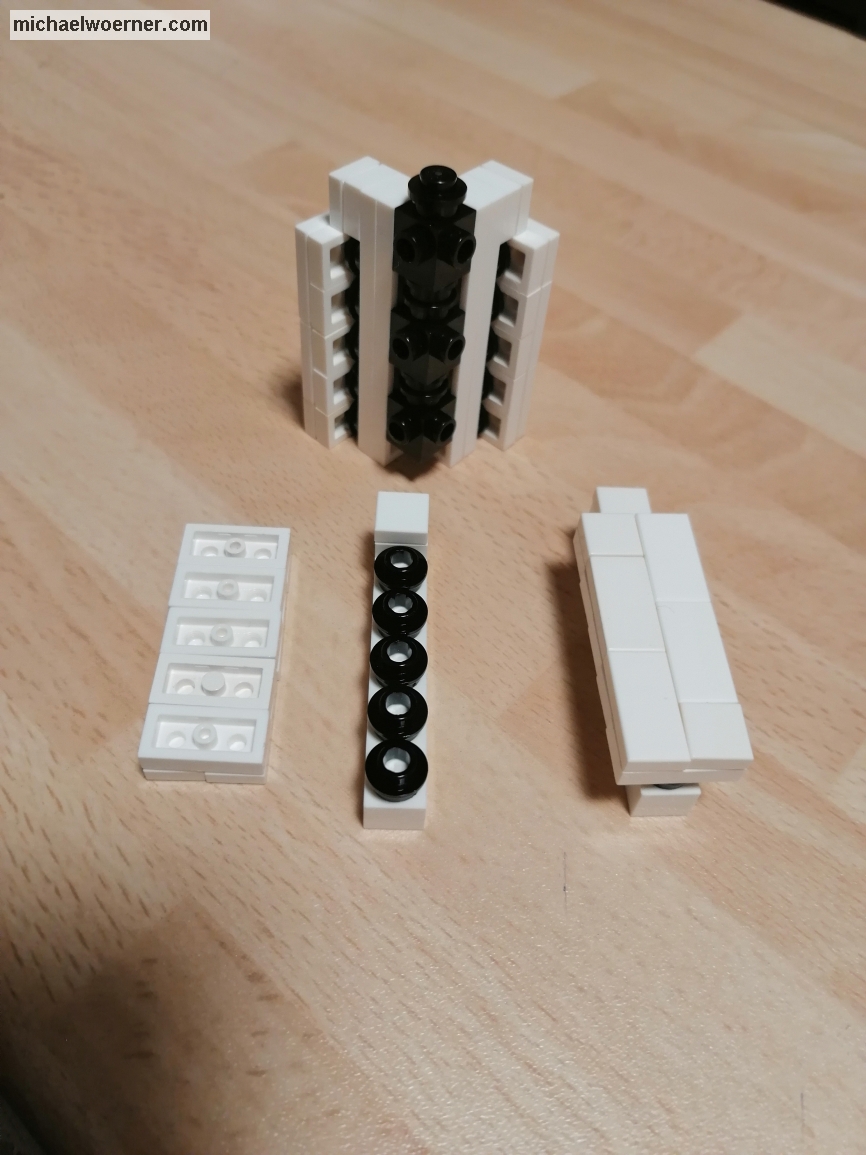
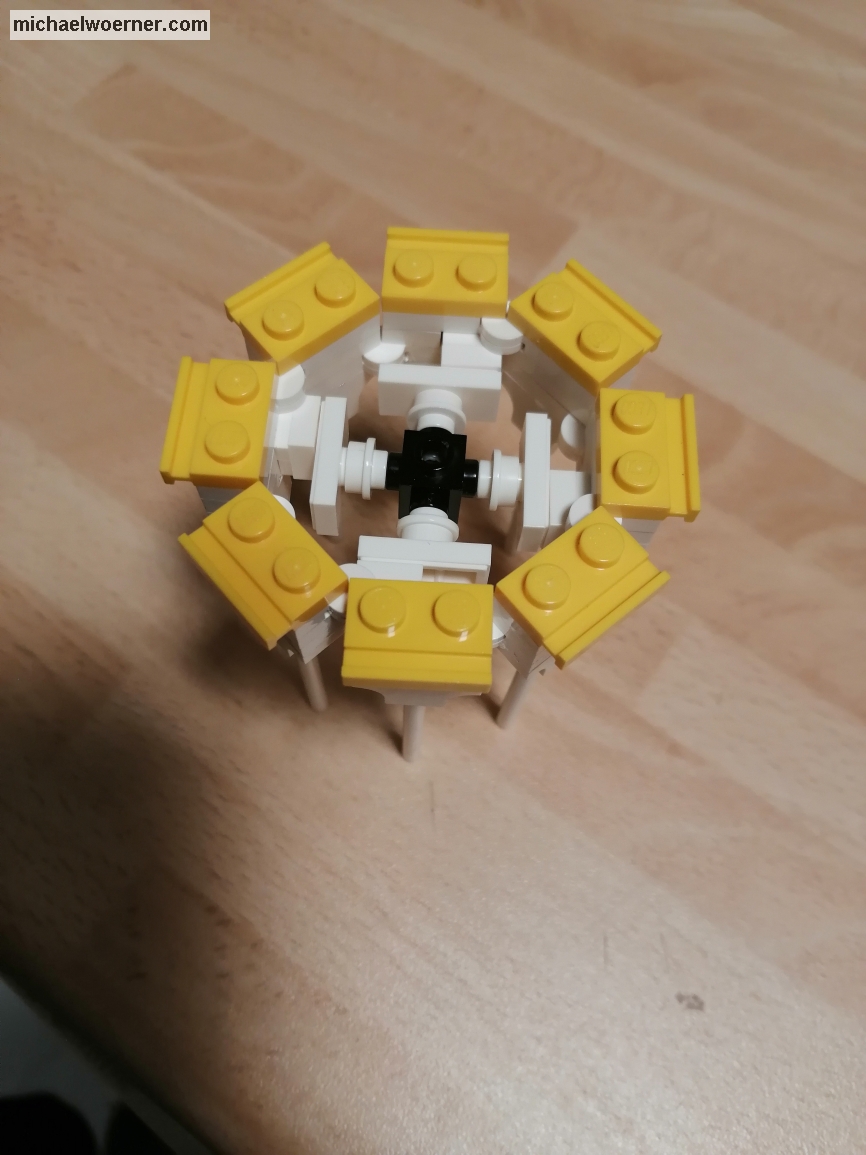
As seen above, the windows are placed at a 90° angle to each other. The walls are put on bricks with 4 pins on the sides (4733) and then stuck between the windows.

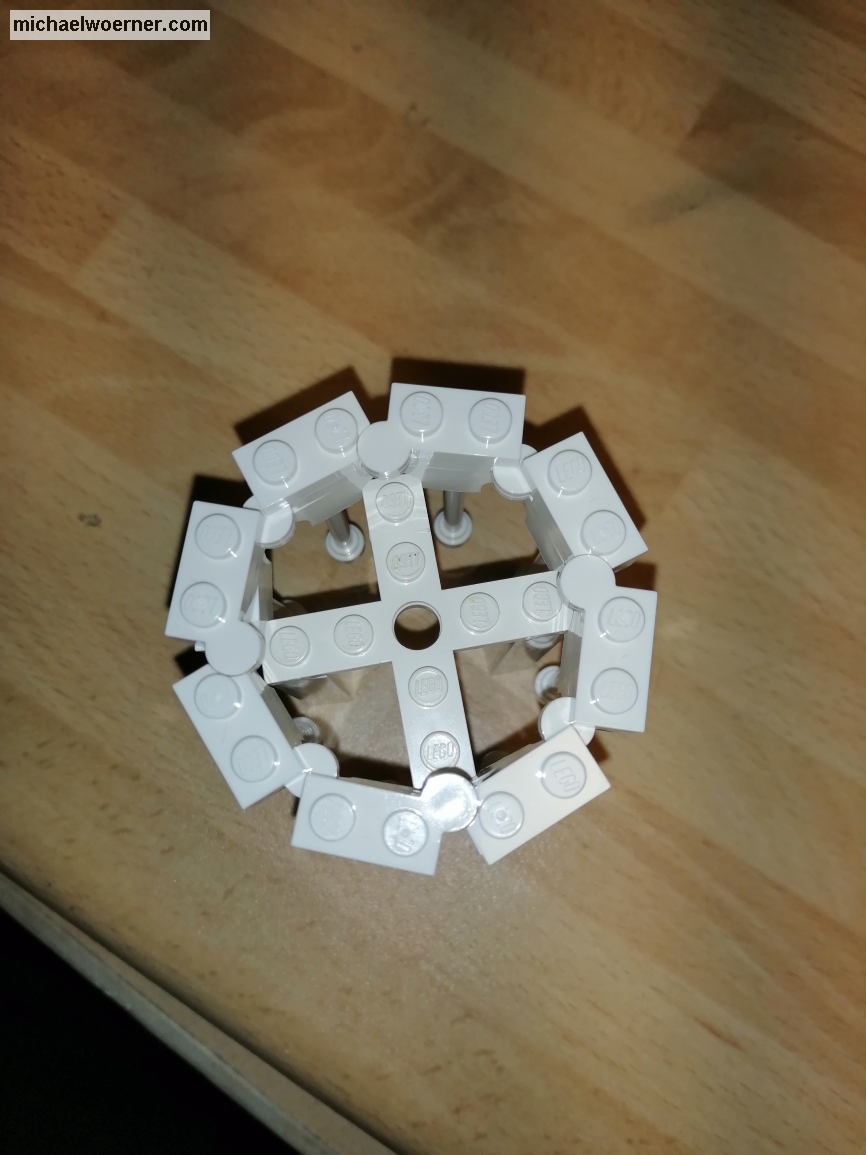
The pillars are in a ring in front of the walls and windows and run out in an arch to each other. They are connected to each other by hinged plates. The spacing of the sides cannot be connected to the normal Lego® grid. I had started to attach a hose ring to the inner part and then connect the outer part to it. But this proved to be unstable and difficult to implement.

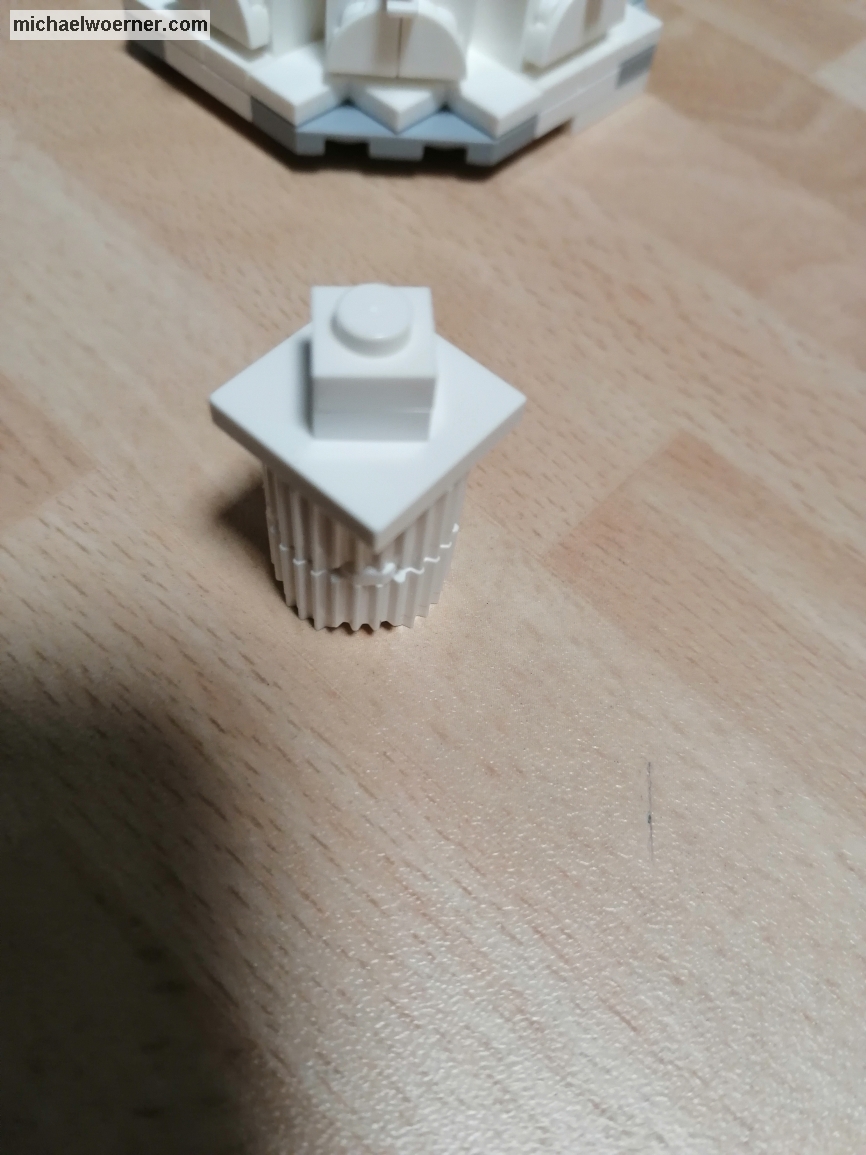
Therefore, I have used the hoses elsewhere. The modified bricks with 4 pins have them perforated and a hose fits right in there. On the ring side there are round 1×1 plates with the same hole, which I used to fix the walls. The hole is provided with the same diameter.
Until next time