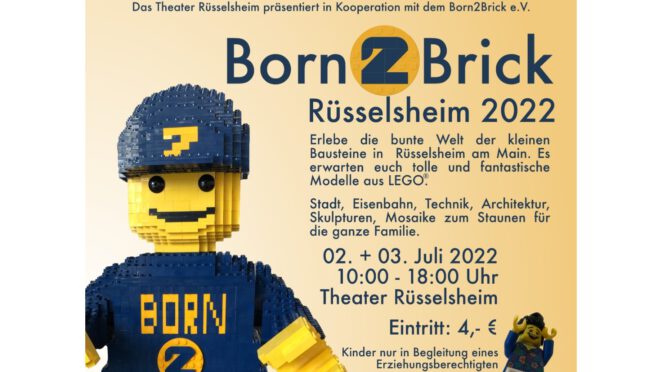
Born2Brick 2022

Just a few more hours, then we’re off. Planning has been completed and preparations are in full swing. On Friday the set-up begins and on Saturday from 10 a.m. the doors open to the public. I can’t wait and look forward to the event. Hopefully more visitors come this year than last, when there were still Corona editions and many preferred not to visit.
It’s worth a visit. There will again be fantastic scenes from Star Wars, LEGO Classic Space, LEGO City Railroad, Knights, Romans, and sculptured artwork – for all ages and tastes. Buildings made of a total of around 1.5 million coloured bricks invite you to be amazed.
During the exhibition, several episodes of the show “King of Bricks” will be produced, which will be shown on the Mainz local station OK-TV and on YouTube. Visitors to the exhibition can experience live how a television programme is created.
In the hands-on zone, construction tables with around 12,000 bricks are available to play and build for the small and board games made of LEGO for the “big children.” Controlling a LEGO track is just as much a part of the program as an entertaining search game where you can win a great prize.
The Förderverein Theater Rüsselsheim e.V. will provide you with coffee and cake on both exhibition days.
So let’s go and be amazed. I look forward to interesting conversations and discussions.

See you at the weekend
Michael

My building corner

When I talk to visitors at exhibitions, two questions come up very often:
1. Do you have a workshop to build models?
2. What is the best way to sort the stones?
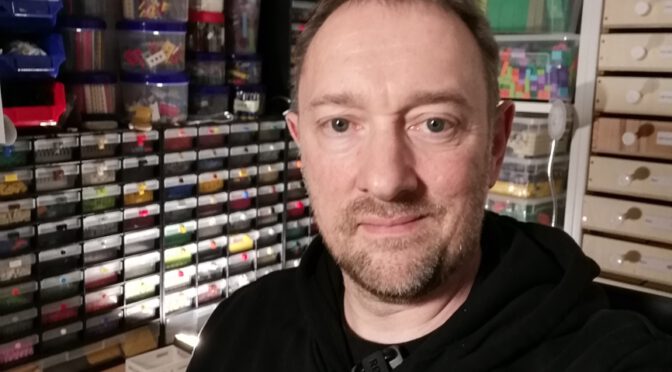
To show this, my son has made a video in which I show my small corner of the building and a little also how I sort my stones.

Bricks @nd friends

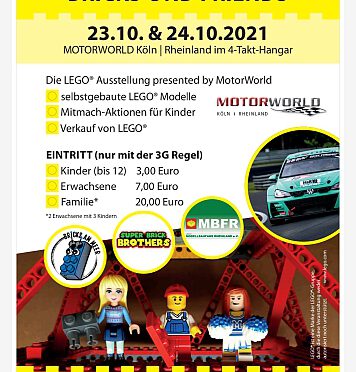
… we’re comming. On the penultimate weekend in October it’s time. The gates of Hangar 4 in Cologne on the former airfield will open first for exhibitors to set up, then from Saturday onwards for visitors. Finally a presentation exhibition again. We are very much looking forward to talking to the other 80 exhibitors and admiring their models.
The Moonbase will travel with us. We will show a new layout and some new modules. On 98 baseplates, the peoples of the galaxies will meet, explore, exploit . . .

I hope to see you
See you then

Born2Brick Lego® Exhibition

Dear all,

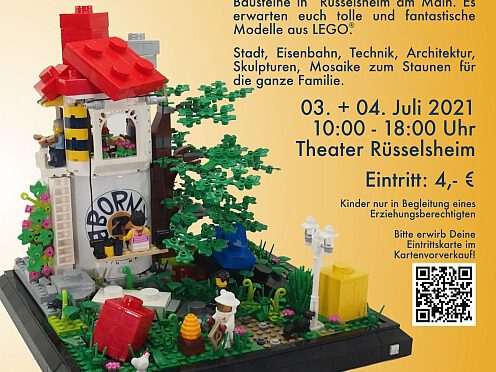
It’s finally time again. After more than a year without a real exhibition, Born2Brick e. V. made it possible for me to show you my models. The doors of the Theater Rüsselsheim will open to visitors on 3 and 4 July from 10 am to 6 pm. In 2 hours slots, the exhibits can be viewed and talked to the builders. Many different themes are shown. Star Wars, Hogwarts, a large railway complex, mini- and maxi-figures, mini-houses and much more.

I plan to exhibit my Wiesbaden Town Hall, the Neroberg Temple, the Biebrich Water Tower and the Greek Chapel there. Unfortunately, I won’t be able to finish my newest model. But maybe I’ll bring with me what I’ve built by then. Then you can guess what it represents. A small tip, it stays with the theme ’Wiesbaden’.

Tickets are available in advance here: Kultur im Sommer – Spielplan

I’m looking forward for interesting discussions with the vositors.

regards Michael

Virtual Lego® Exhibition

On April 10th I took part in a virtual exhibition for the first time. Born2Brick had invited and as a member it was close to being there.
We started at 6 pm, let Kriese Kriese be for a short time and watched great MOCs and good interviews. The live stream was transmitted via YouTube and Facebook. 15 models were shown by 12 exhibitors: first a short video about the model, then an interview with the builder, who was able to answer the questions from the live chat and the two commentators (Steinchenklemmer and Bricktendo).
I was at the start with my Biebricher water tower and the Greek chapel. It was fun to attend and see how active the participation of the virtual visitors was. Three models were shown each, then there was a small raffle in which the spectators could win polybags. After 3 hours it was over again.
If you missed the whole thing, you can watch the video. In the description the individual times are listed, which MOC is to be seen when. Or you can seee my water tower (Click) and my Greek chapel (Click) in individual videos. As usual are comments or criticism here or on YouTube welcome.

Have fun
Michael

A new model is made – final

This is the last part of the series, final.

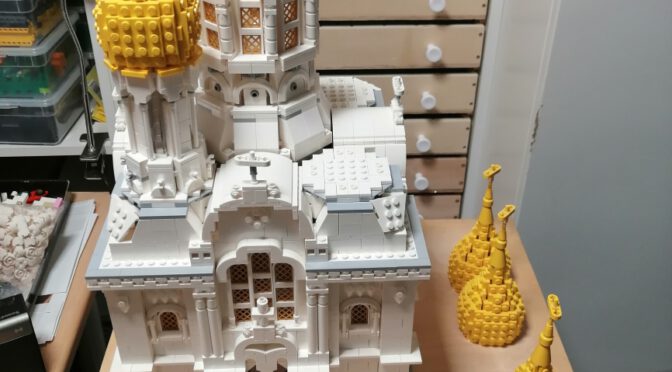
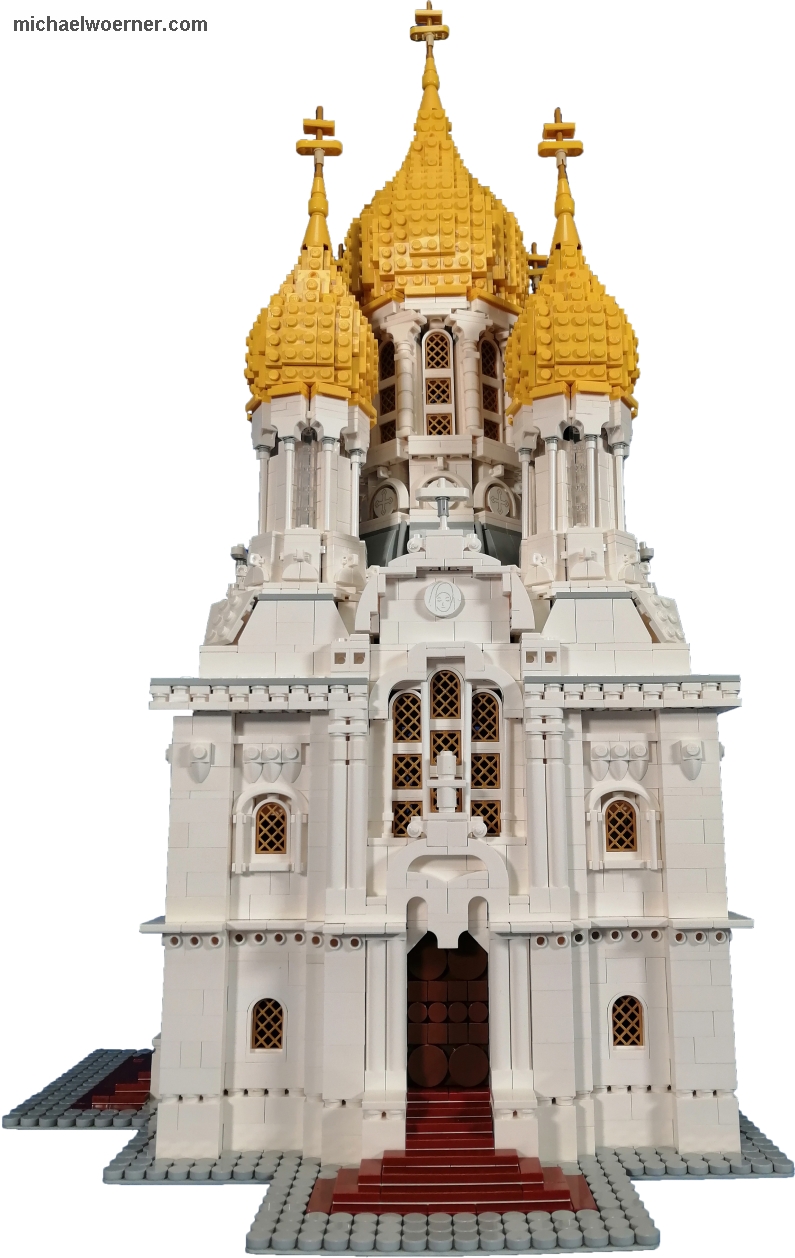
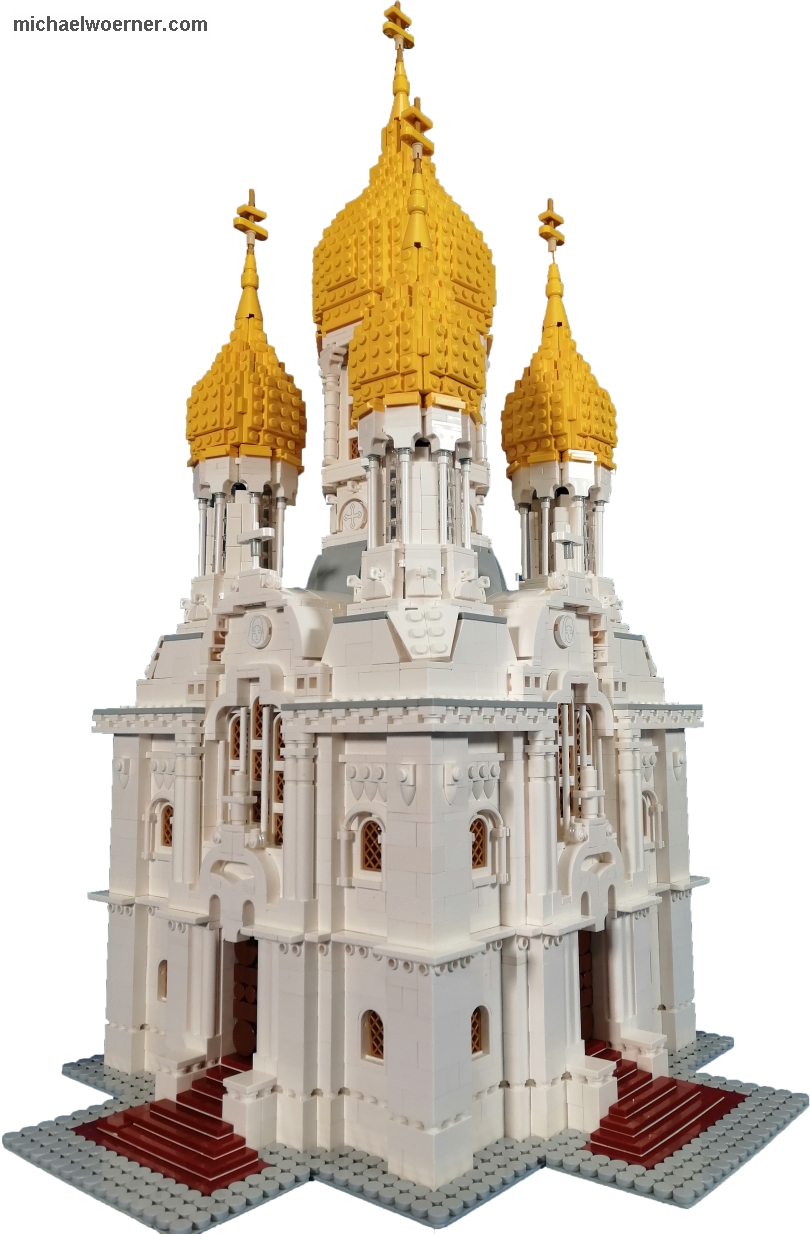
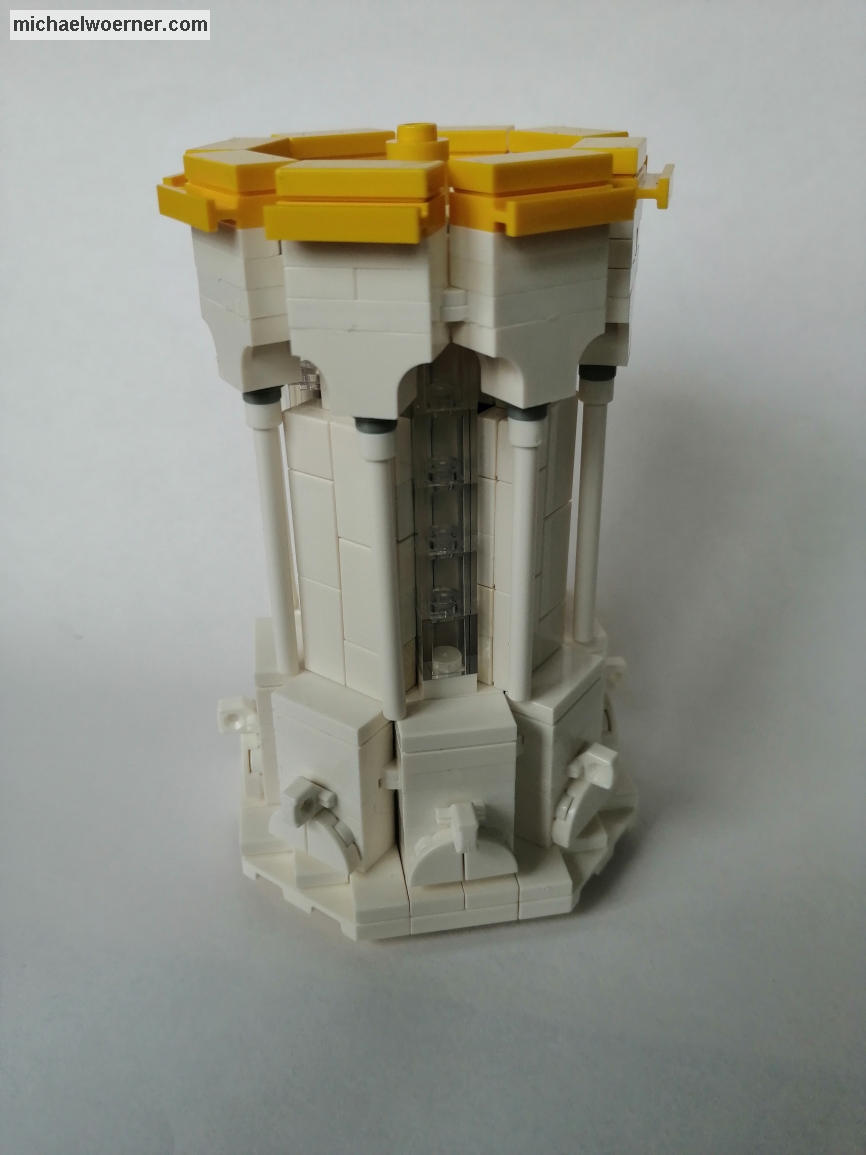
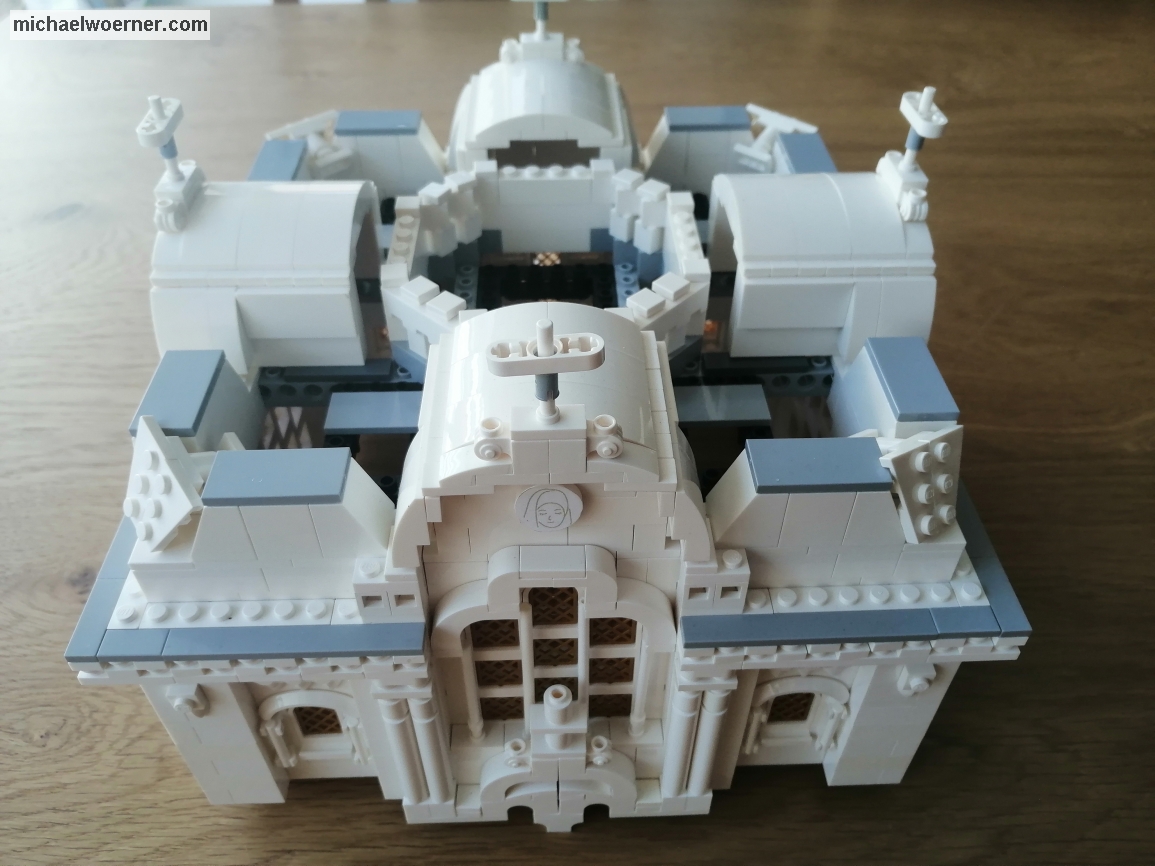
If you still haven’t guessed, the model represents the Greek Orthodox chapel on the Neroberg at the northern end of Wiesbaden.

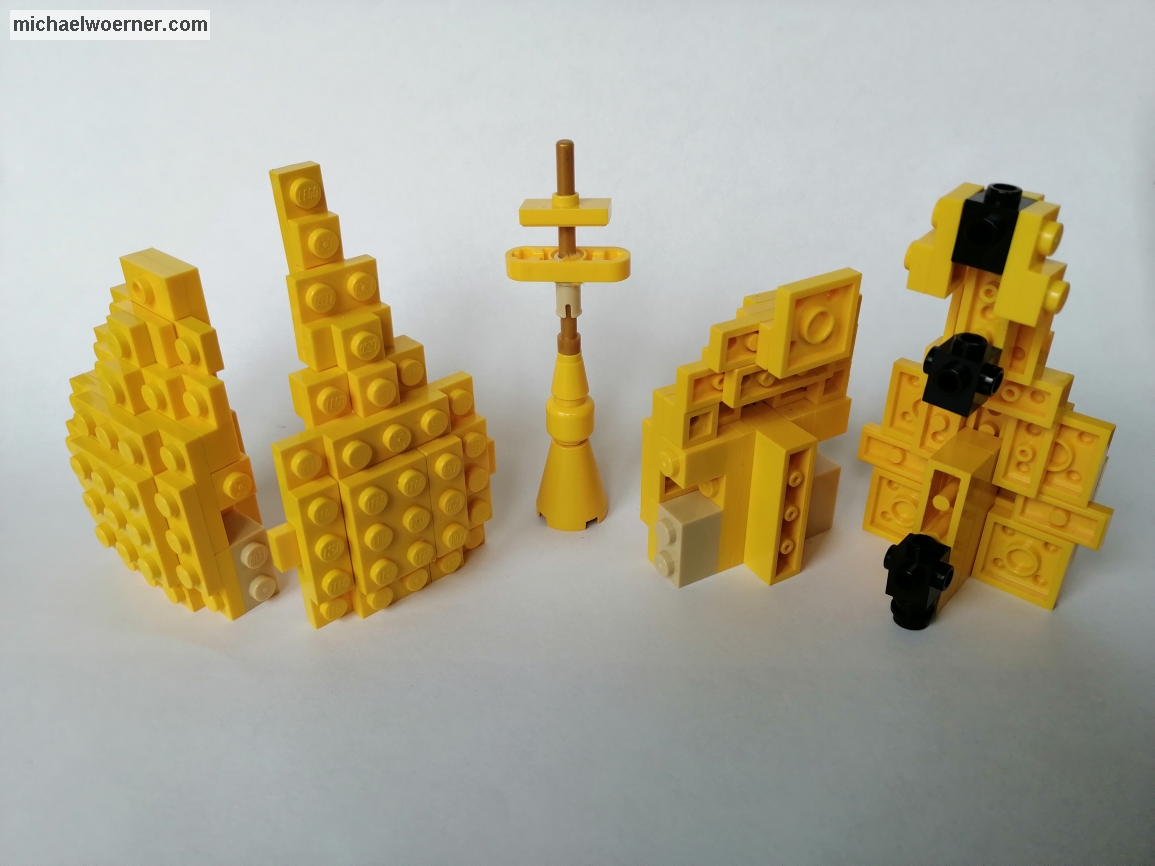
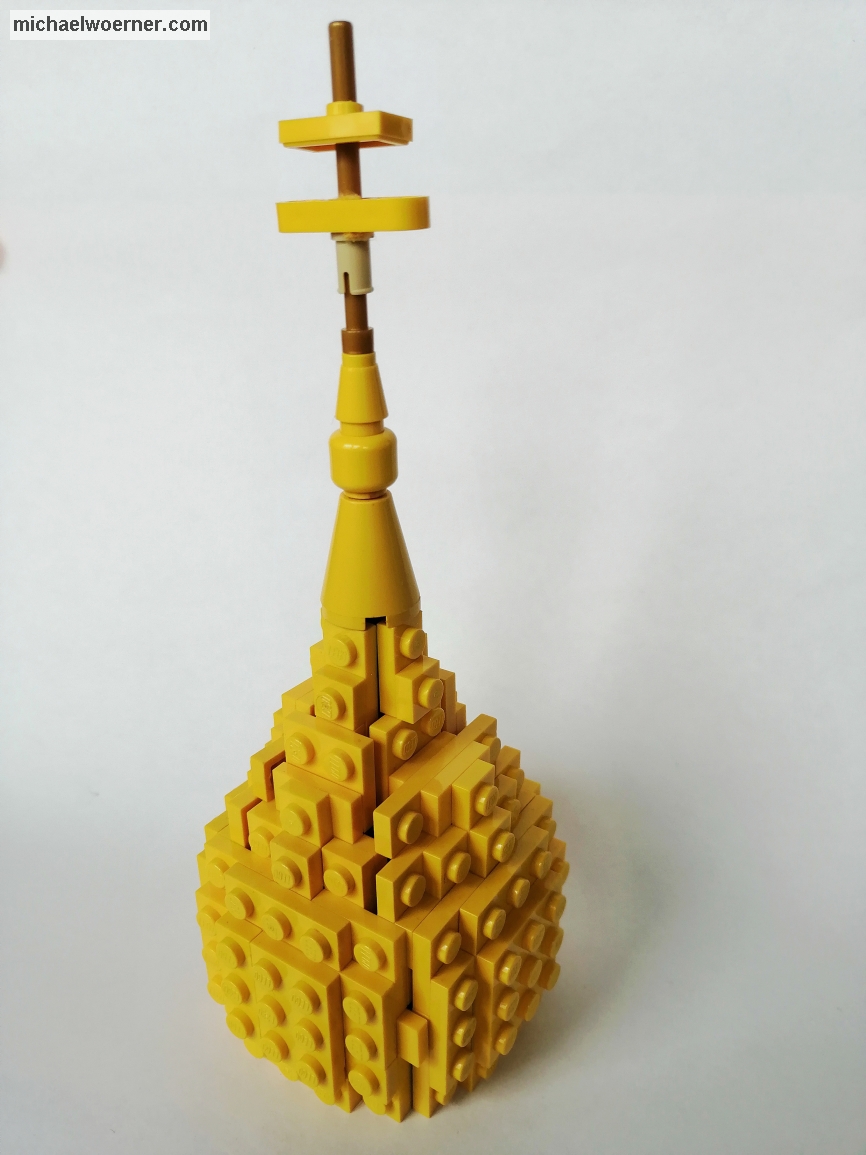
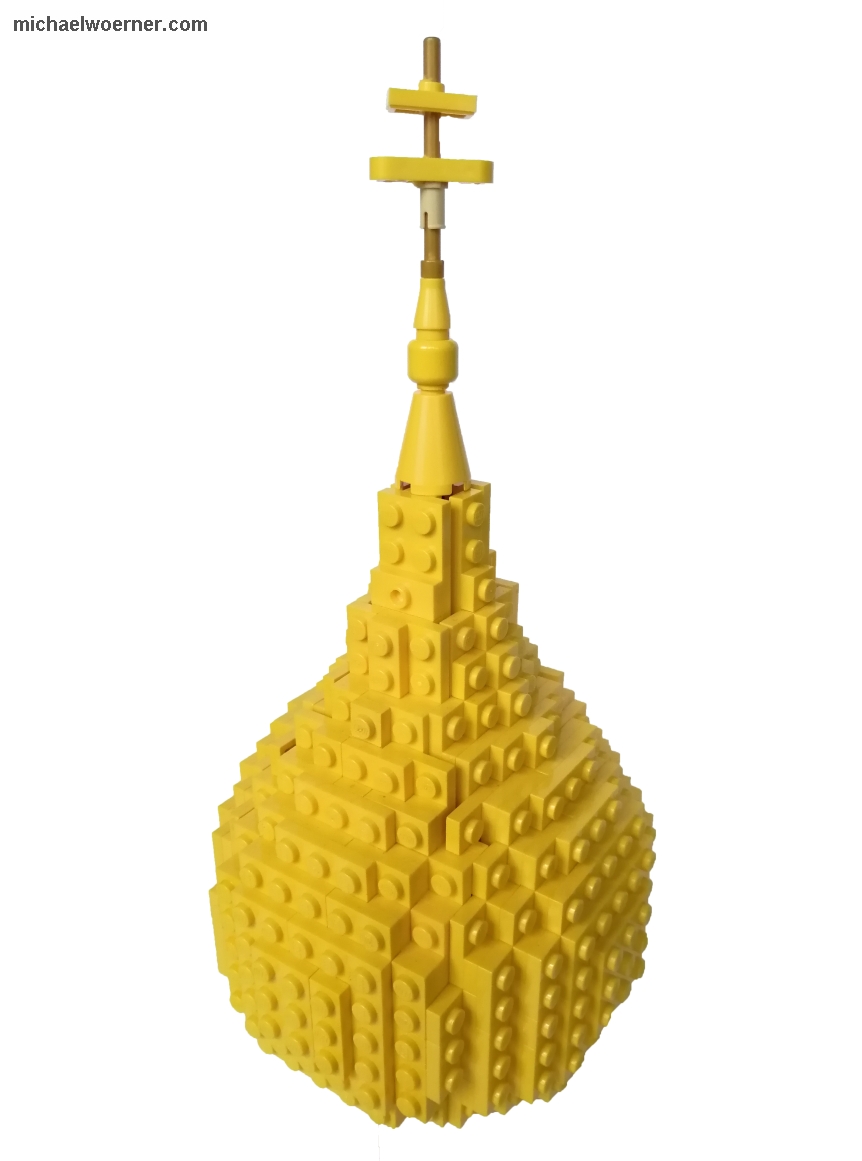
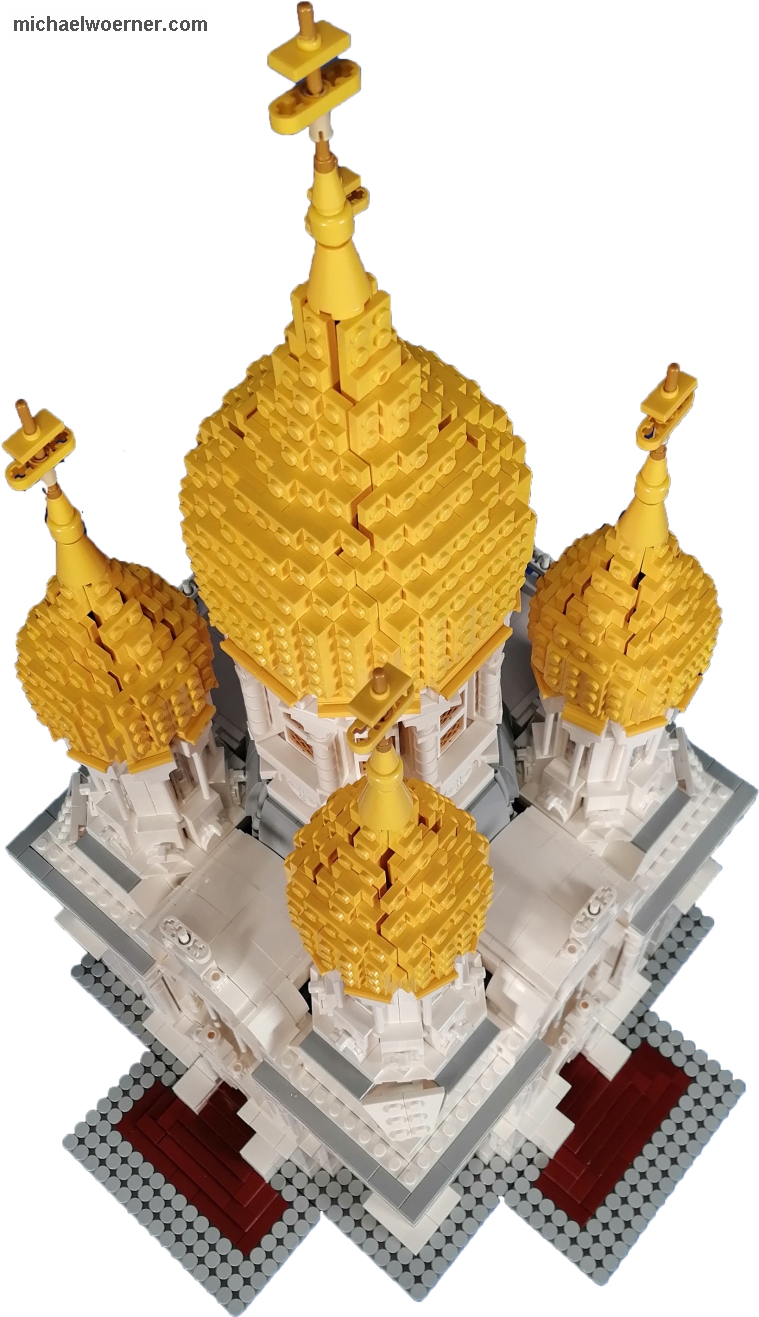
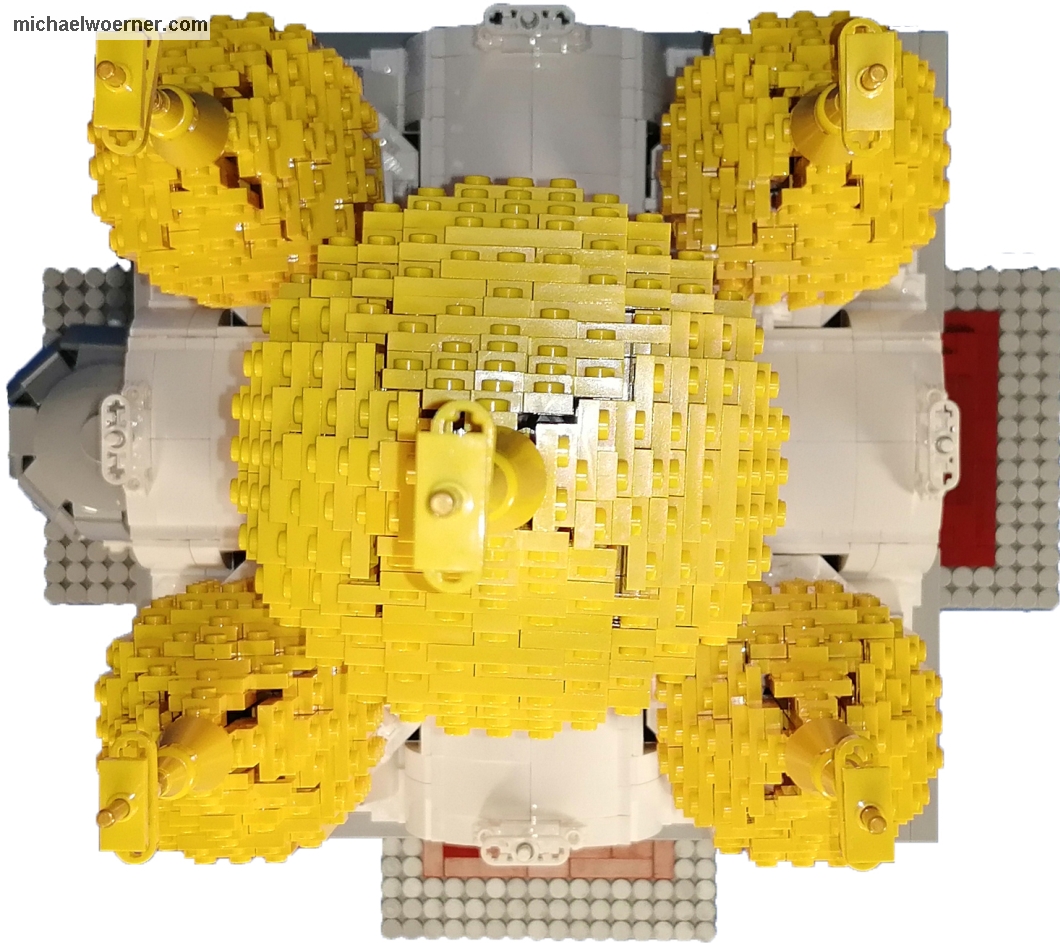
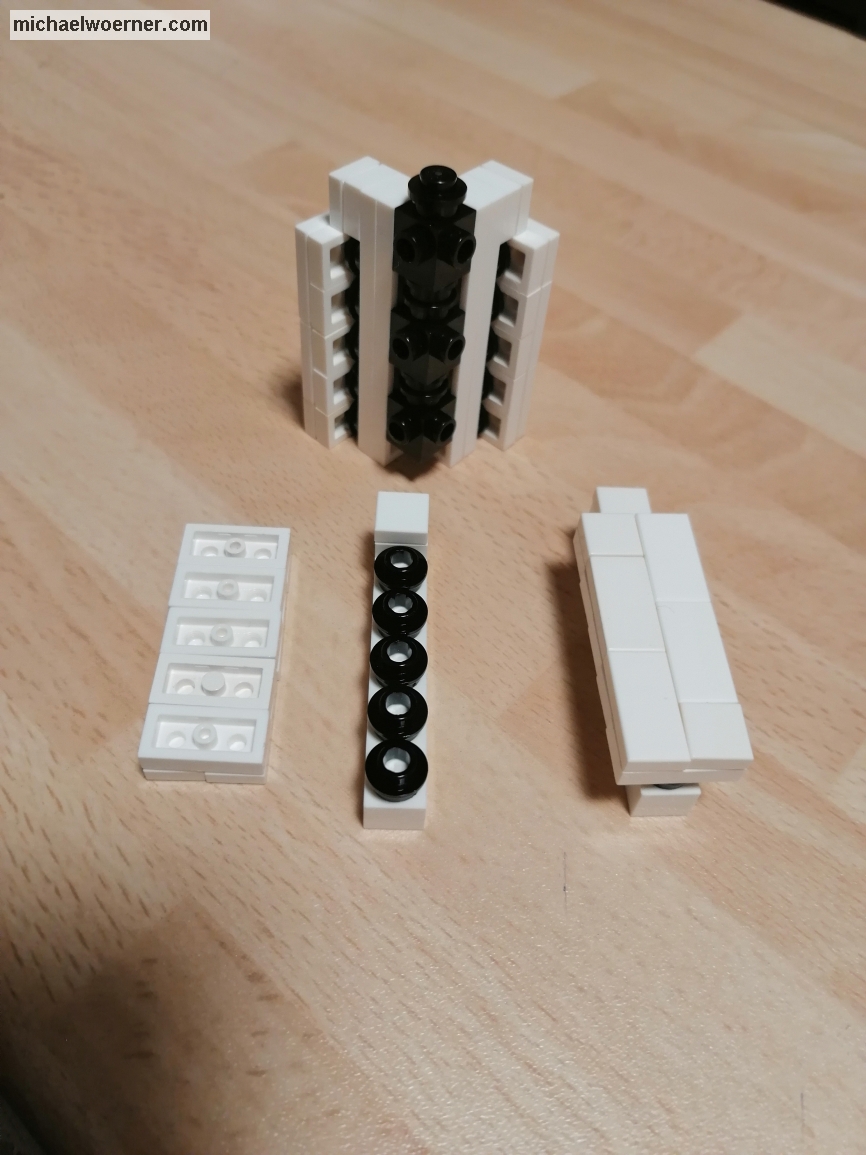
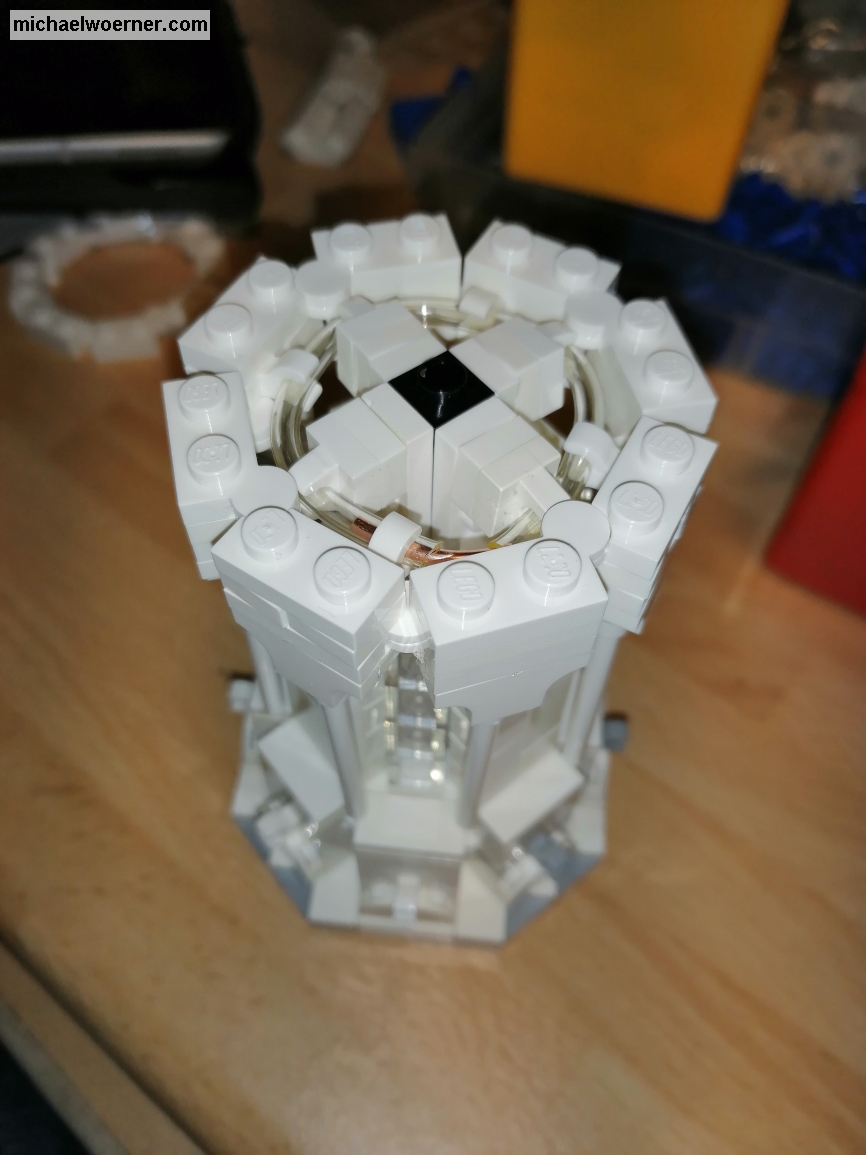
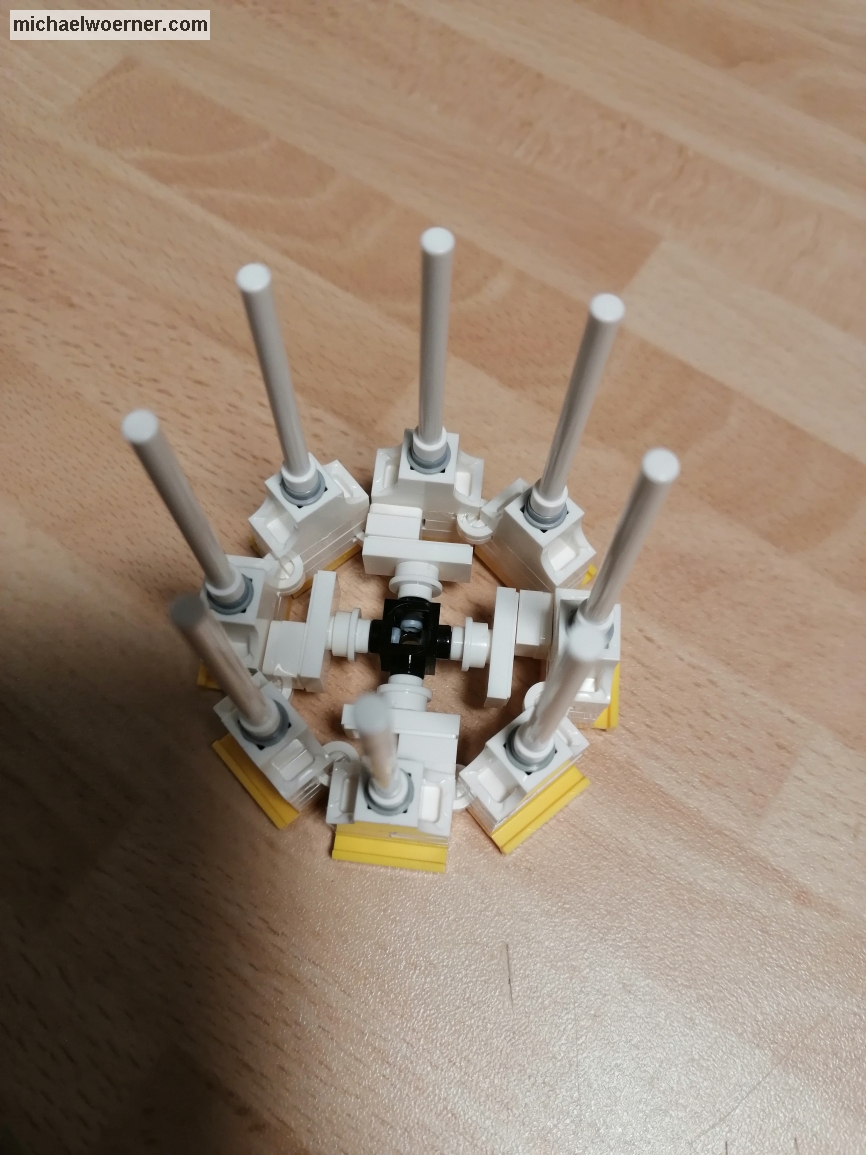
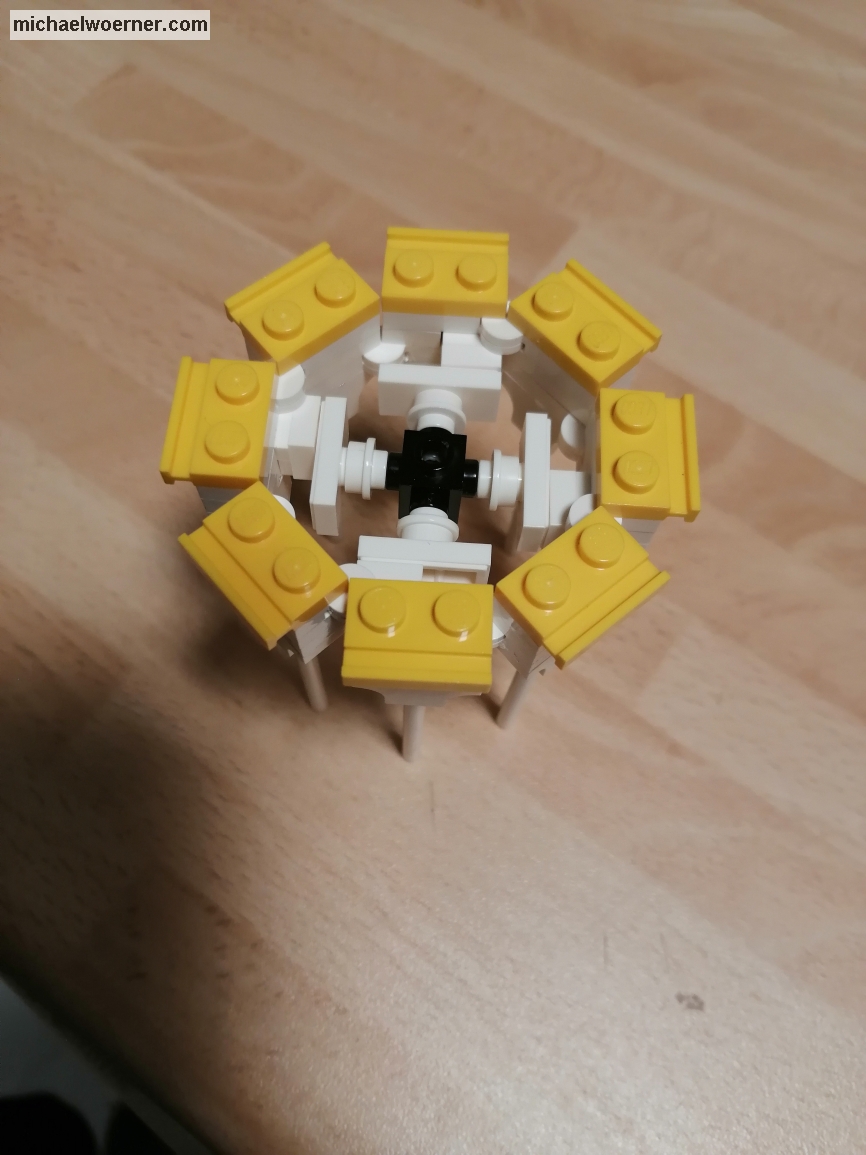
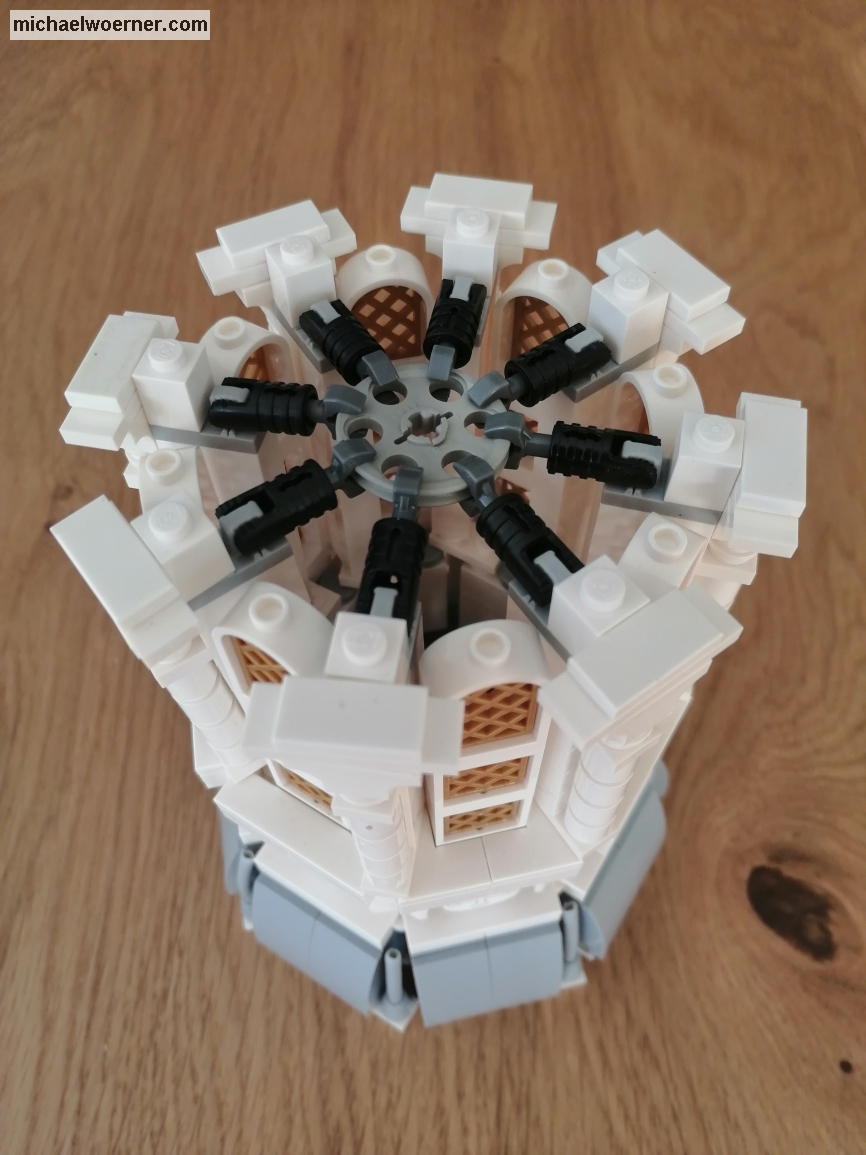
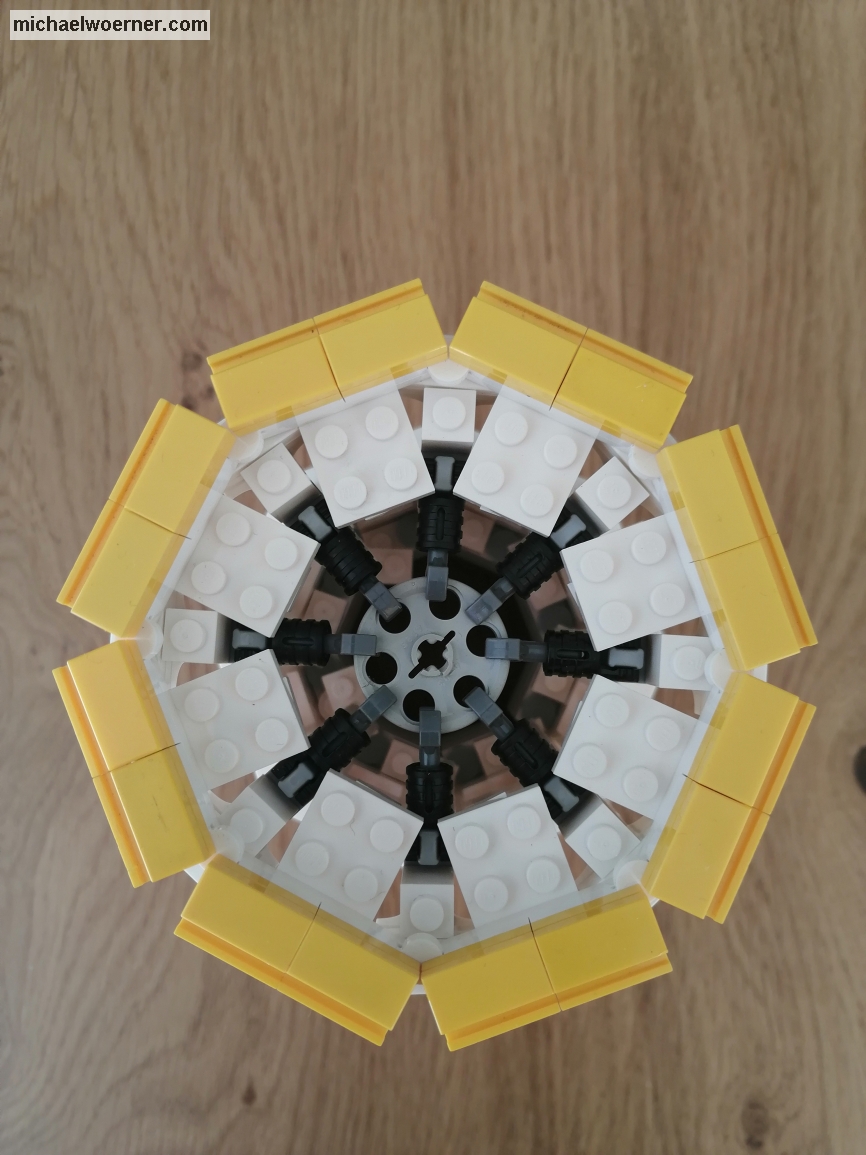
After building the walls at the beginning and then the towers, it is now the turn of the towers at the end. There are many ways to build such domes. I chose the SNOT technique (Studs not on top). Here, 6 identical elements are assembled to a cube using stones with pins on the side. However, the parts are not flat but arched, so that a ball is formed. I have incorporated and modified this approach. I do not need a floor and the lid is not needed by pulling up the side walls to a point. 5 domes are needed. Four of them, for the corner towers, have an inside diameter of 5 pins.


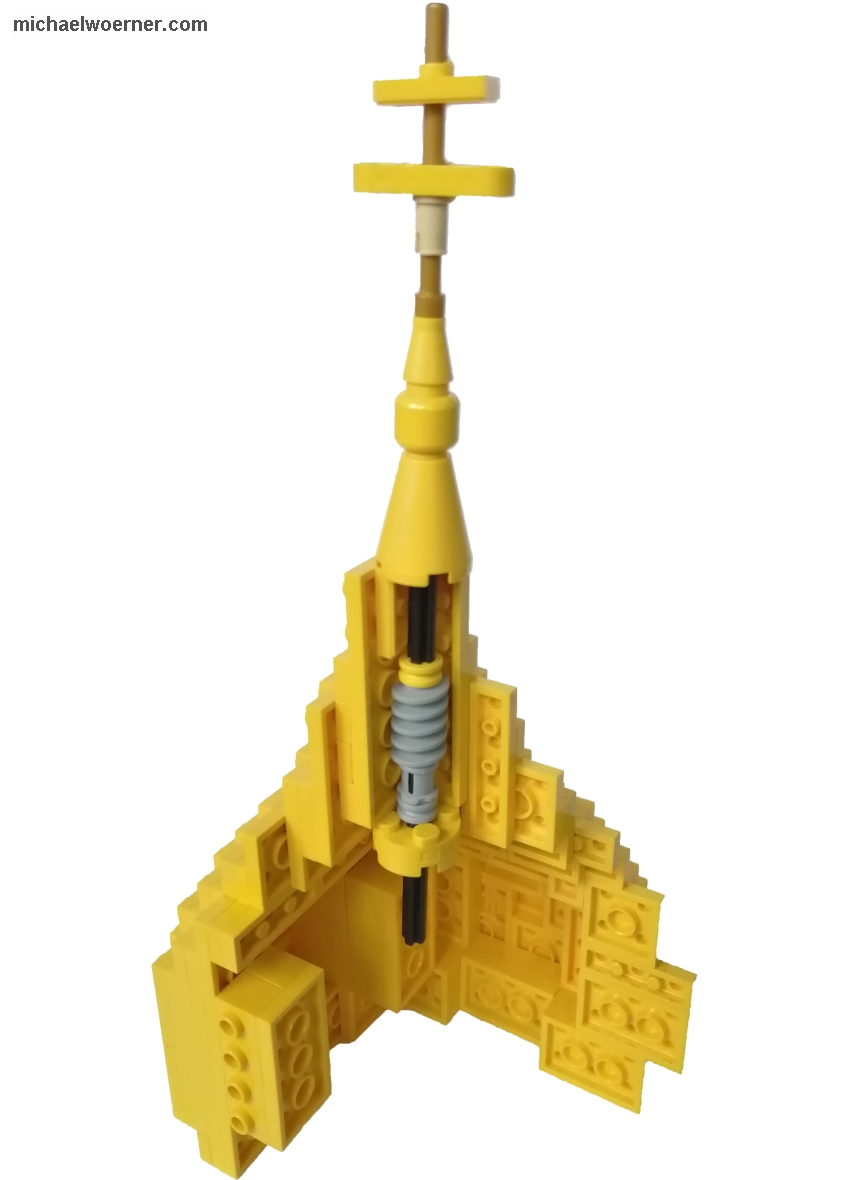
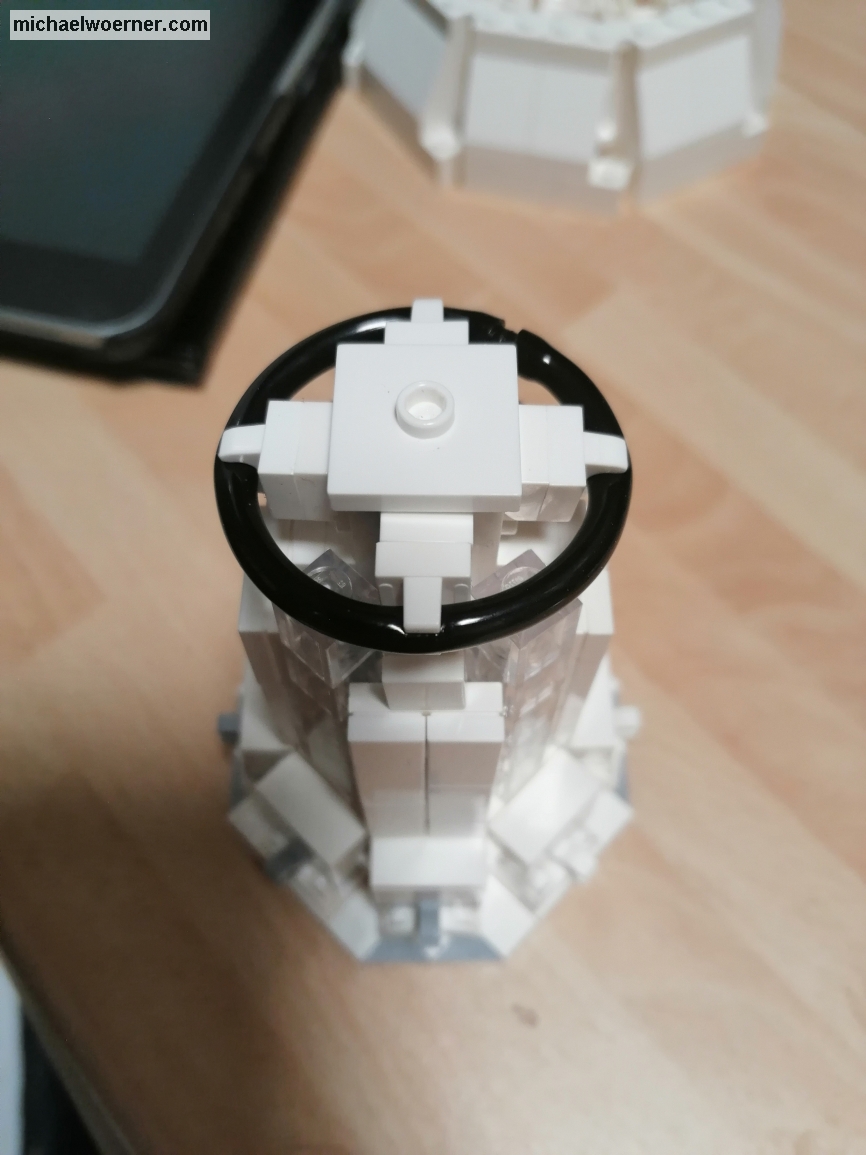
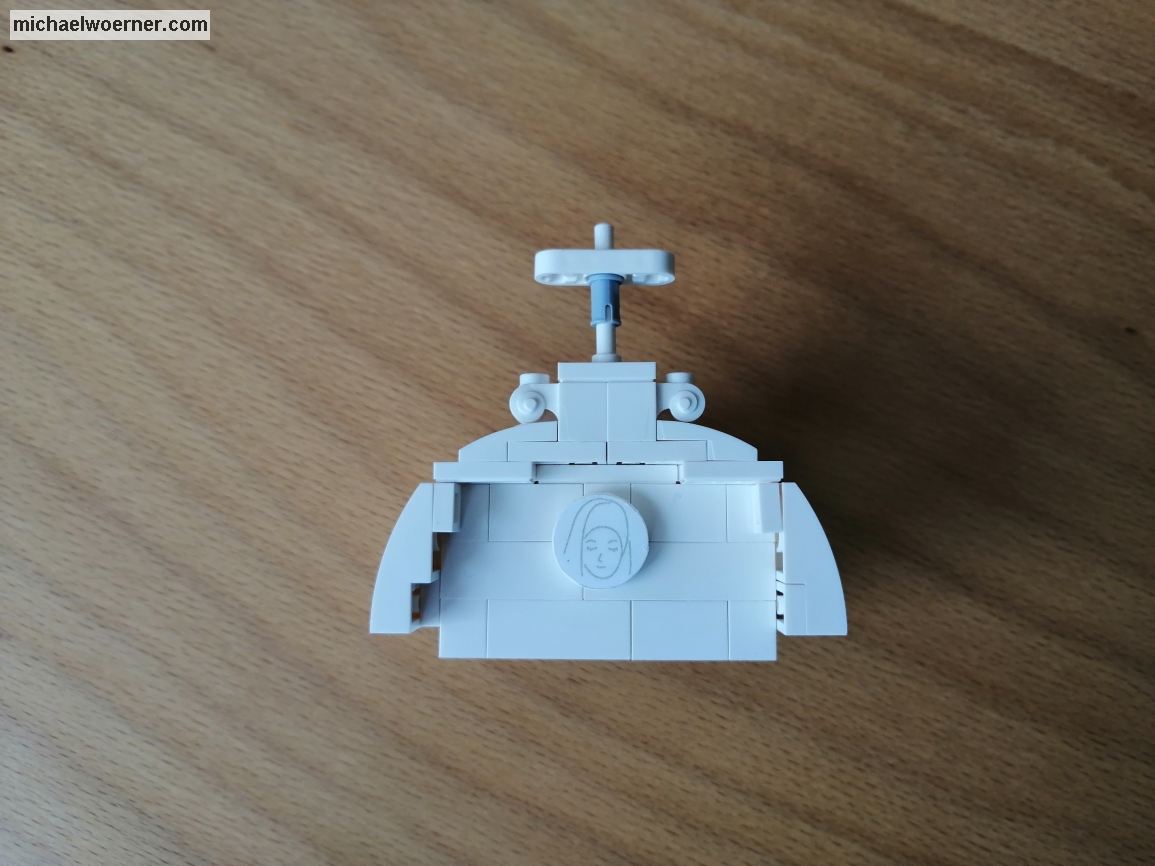
For the large dome with the 7 pins inside diameter the measure does not go unfortunately completely up to the top, therefore no 1×1 brick fits with the pins at the sides (4733) as conclusion. That’s why I have to attach the top differently than the small dome. I was looking for parts with the right dimension to make the resulting gap between wall and axle as small as possible to avoid slagging and thus also to center the tip. I had tried connectors (62462) and bushes (3713) but they are too small. That’s when a technic gear (4716) fell into my hand and it was a pretty good fit. To avoid falling out and to minimize the slagging even more, I put 2×2 round plates (4032) on the axle as a lower end and thus clamped the tip.


One thing bothers me. Unfortunately, I have not found a better solution. It is against the usual rules, but how else would I implement it? It’s about the Orthodox crosses. These have, in contrast to Christian ones, not one but 3 crossing arms, the upper one being smaller than the middle one and additionally an even smaller, oblique one at the very bottom. This is impossible to implement with Lego® means in my scale. I decided to leave out the slanted bottom one. The middle one is a thin 1×3 liftarm (6632). This one has a receptacle in the middle to put the bar through and fits pretty well in size.
The crossing arm above it should be smaller. There would be a plate 1×2 or similar in dimension best. Unfortunately, there is nothing that is yellow or gold colored that has these dimensions and a matching hole in the middle. After much thought and hassle, I drilled 1×2 Jumperplates in the middle and put them on the bar. This is my solution until I find something better or Lego launches a corresponding part.


Now a few more numbers about the model. The construction time was about 90 hours spread over 4 weeks and I installed about 5500 parts. The scale is about 1:70.

Now there’s only one thing left. I hope you enjoyed the show. Feel free to leave a comment. I also welcome criticism and suggestions.

Maybe I’ll see you at an exhibition
Michael

A new model is made – part 6

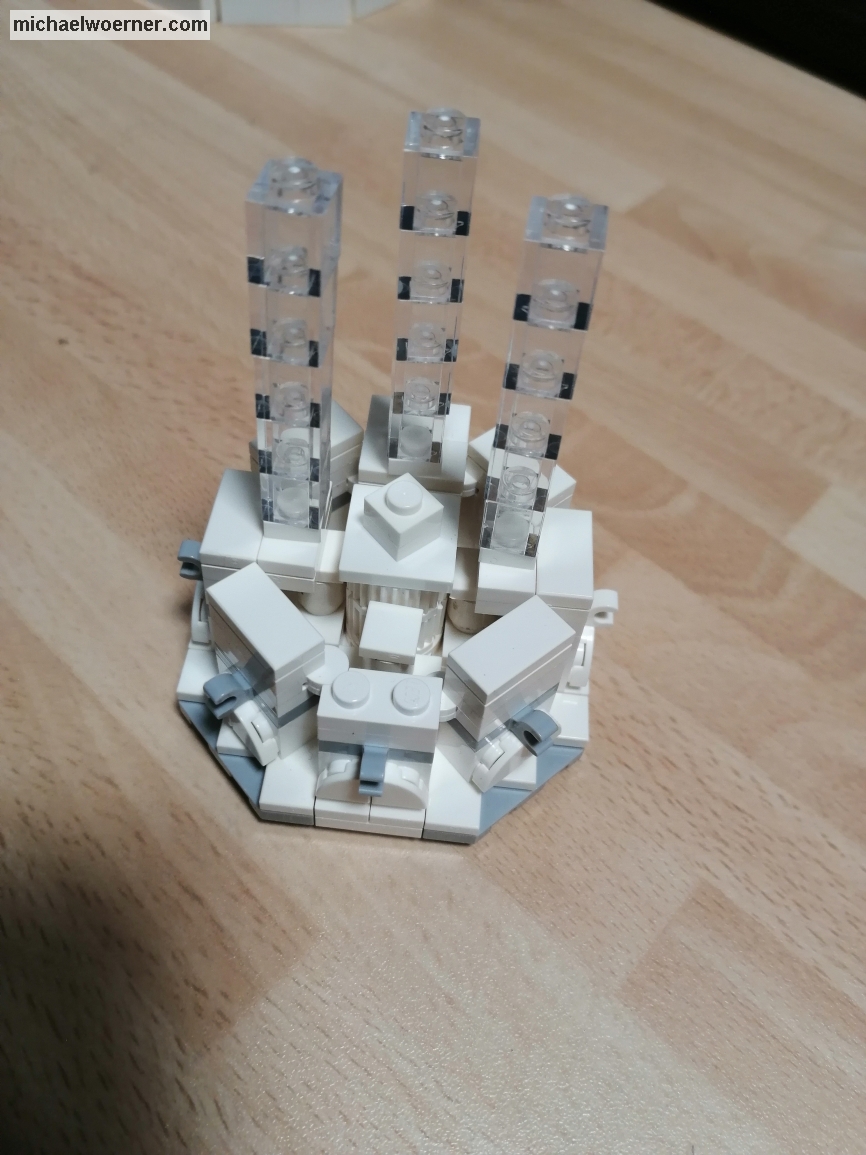
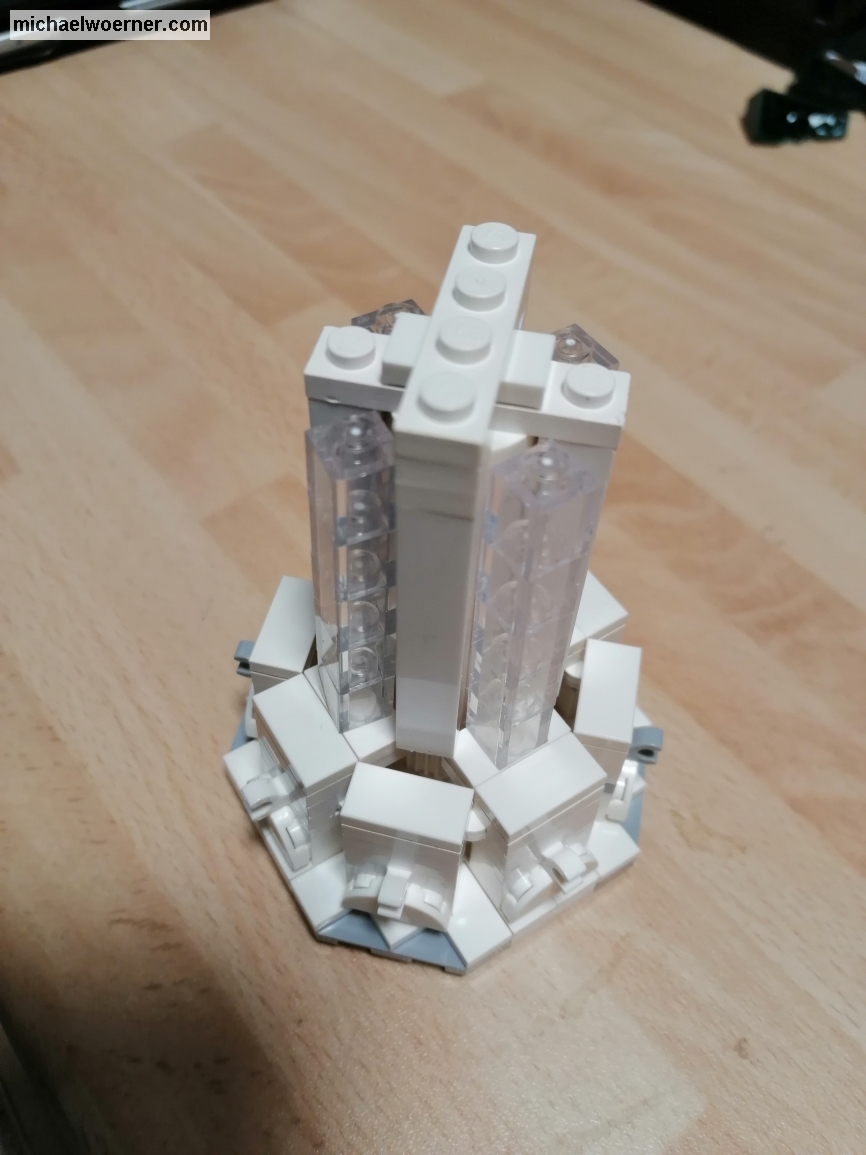
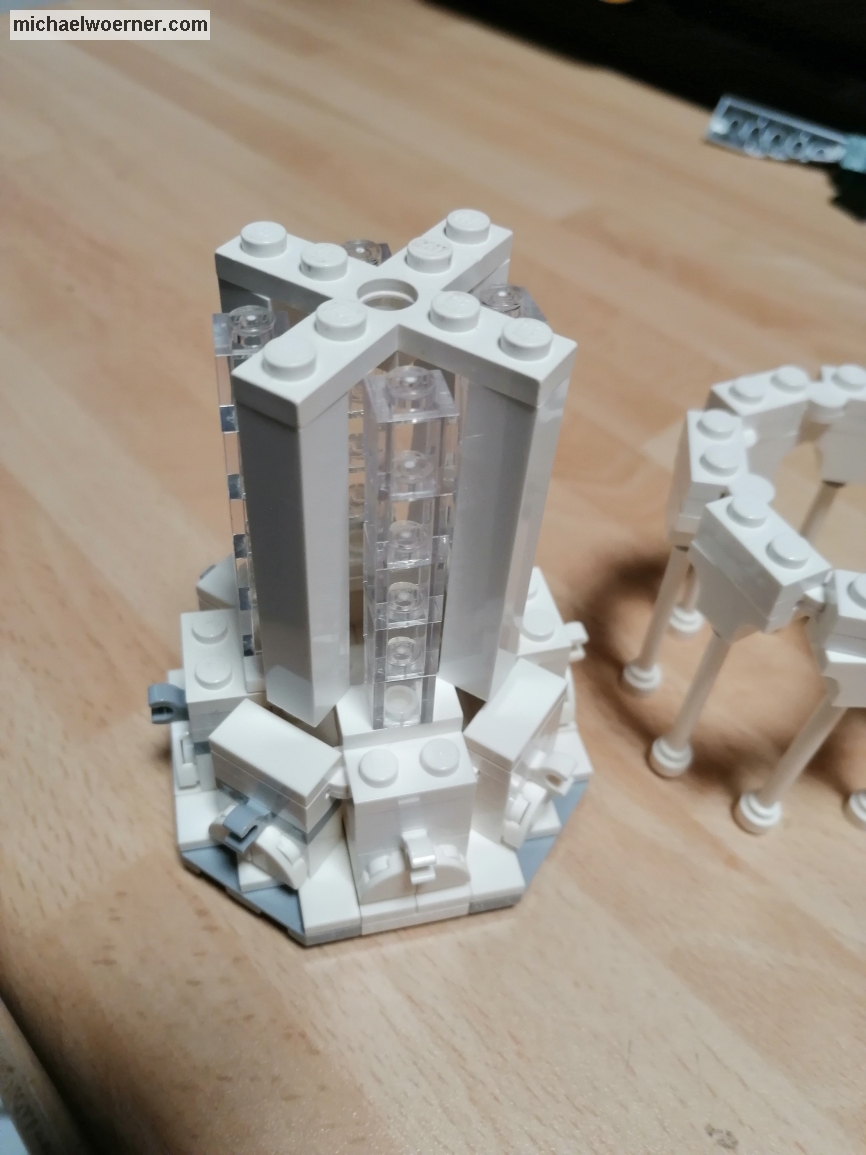
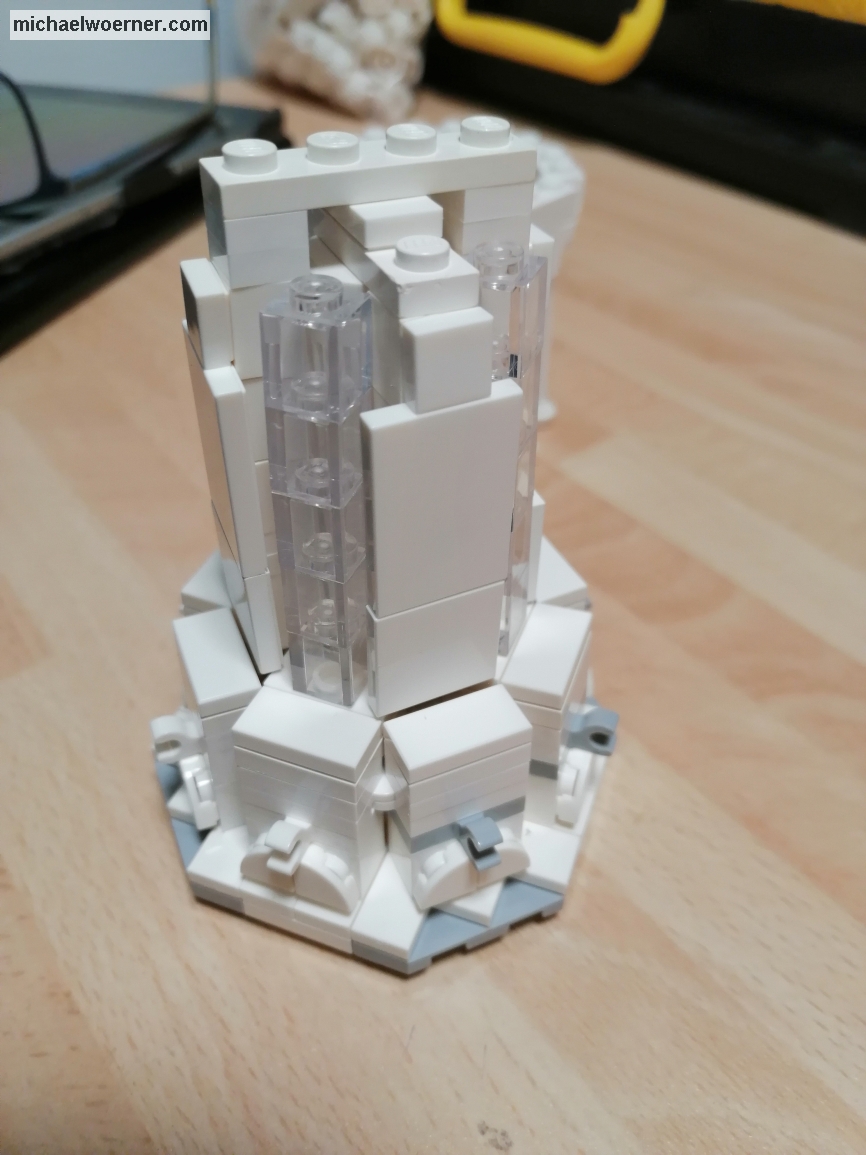
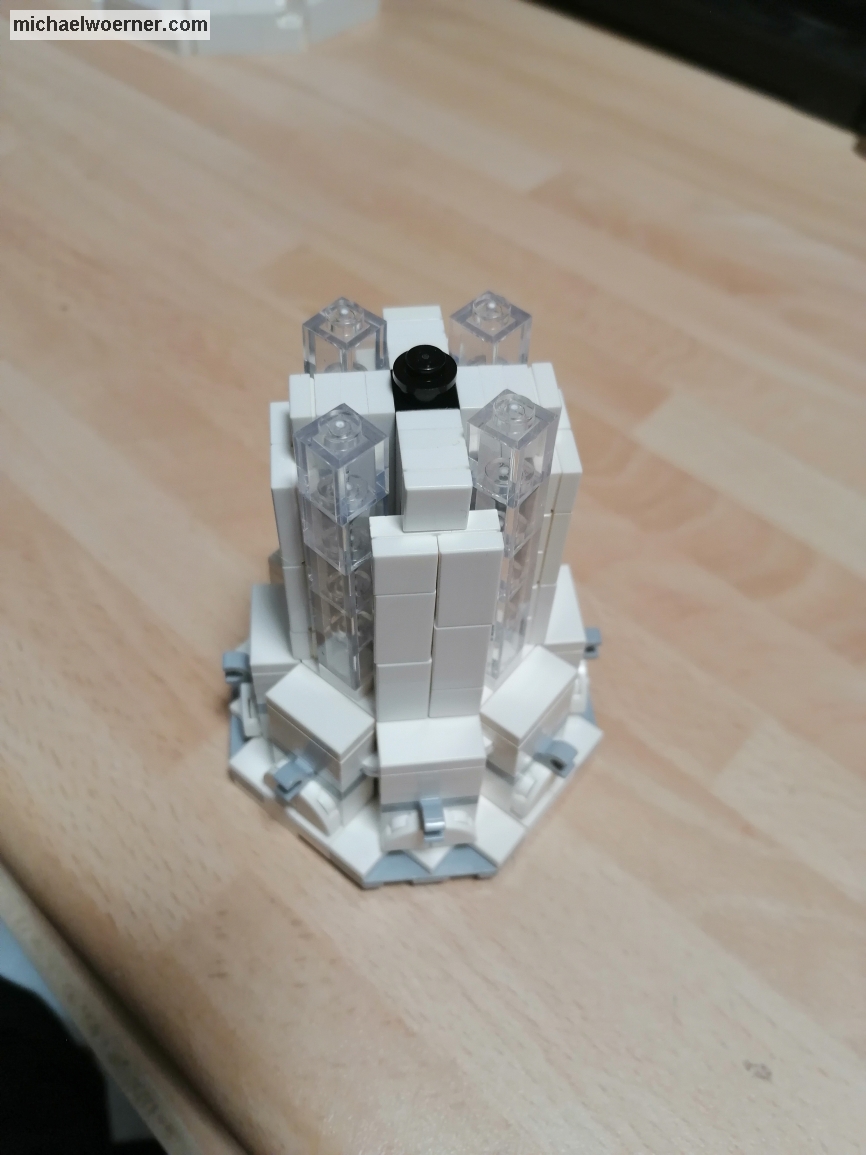
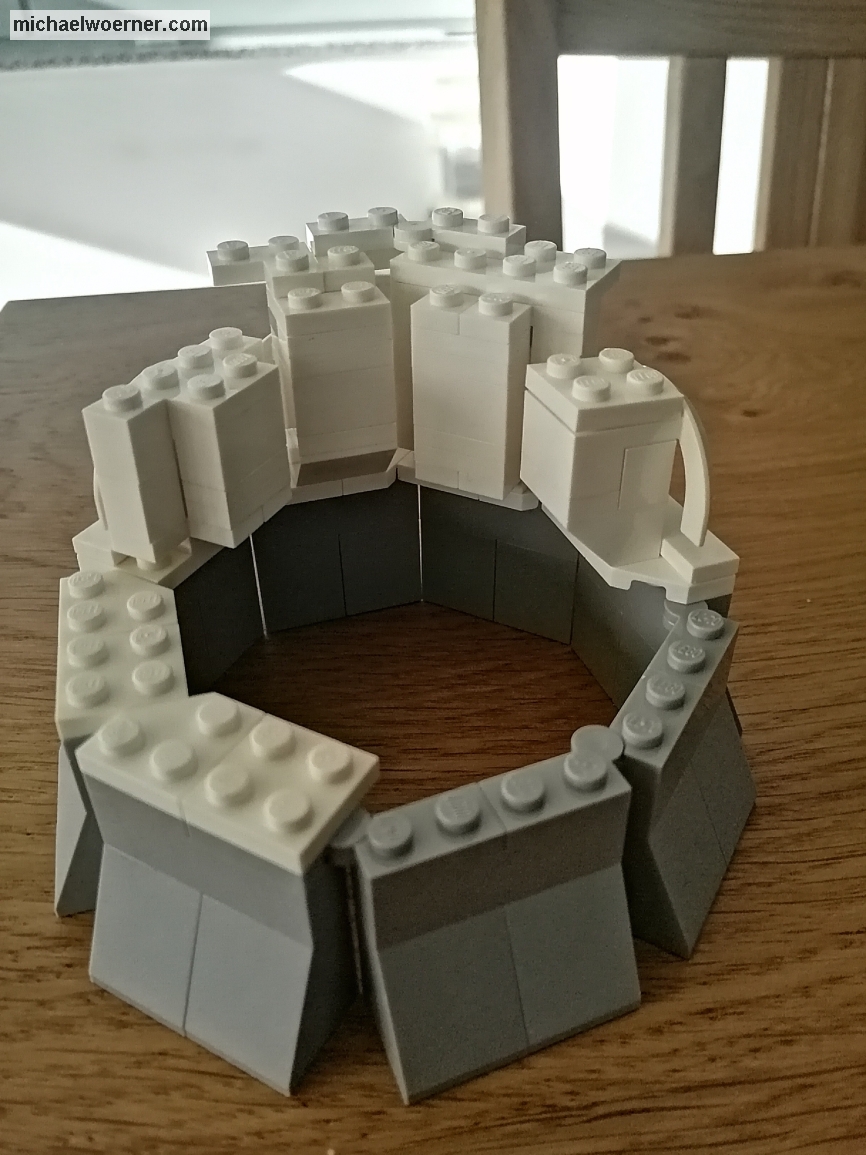
The central tower is built and now comes the construction of the 4 corners on the model. Today I reveal to you that 4 more towers are being built to fill in the corners.

=== ATTENTION, I used a lot of pictures in this post! ===

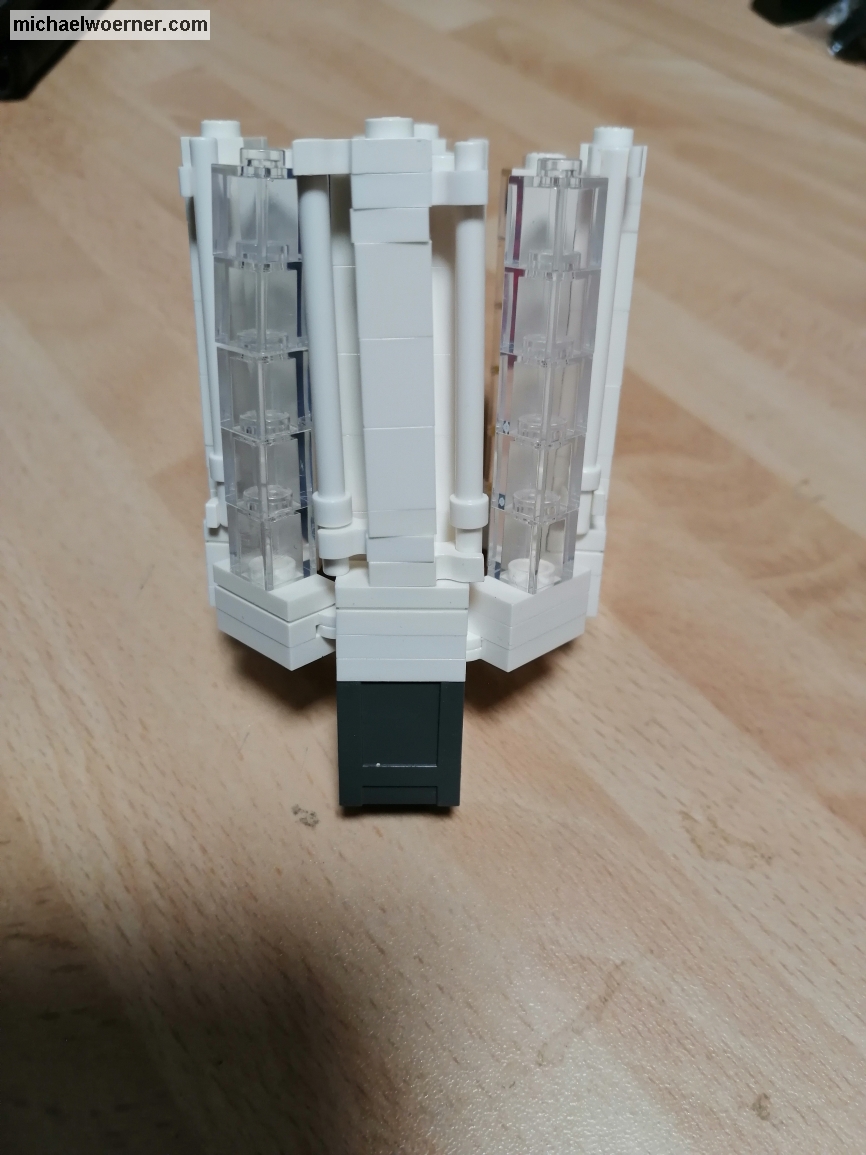
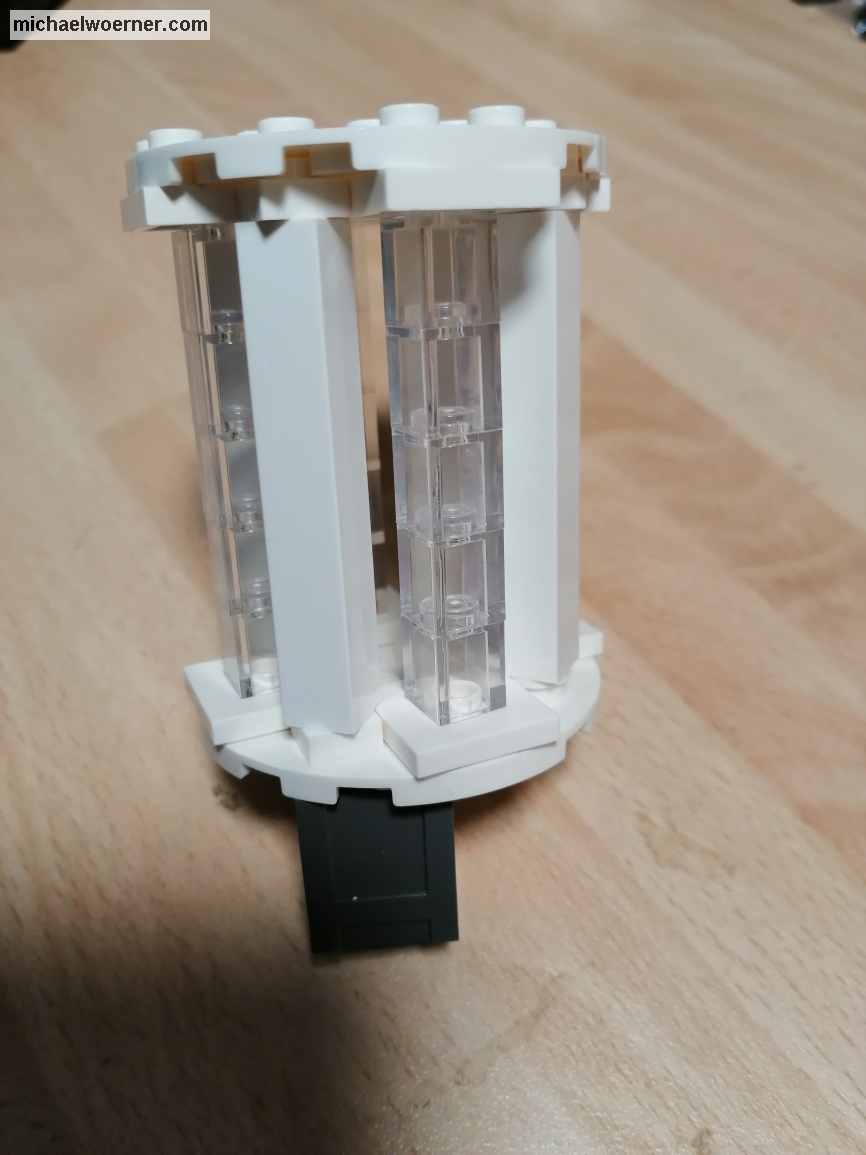
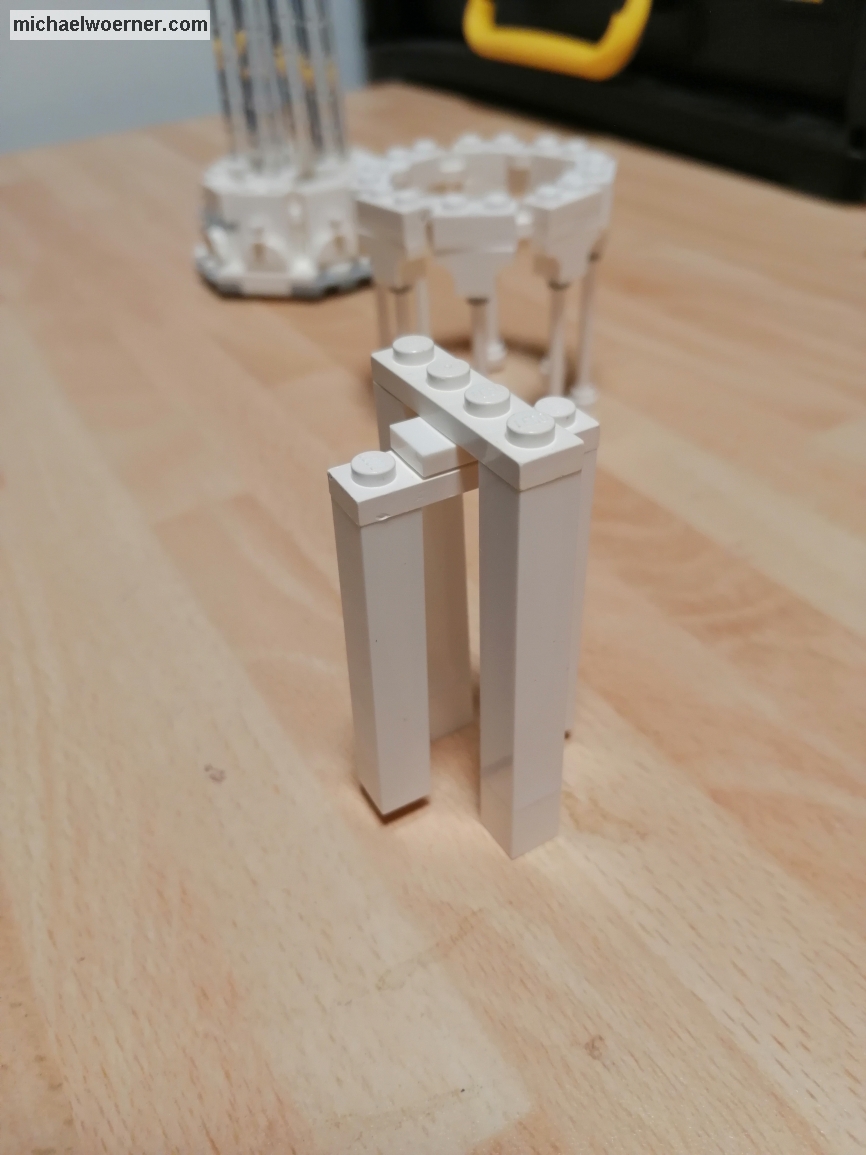
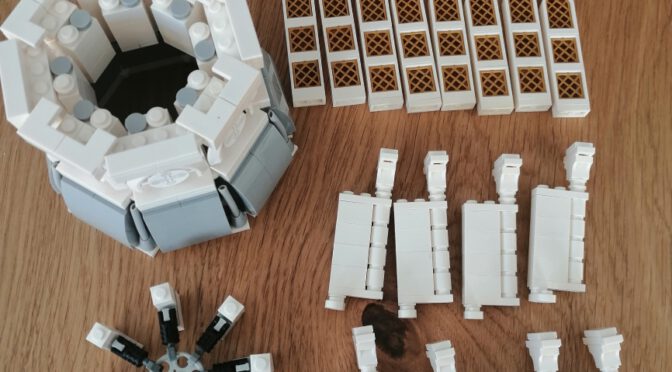
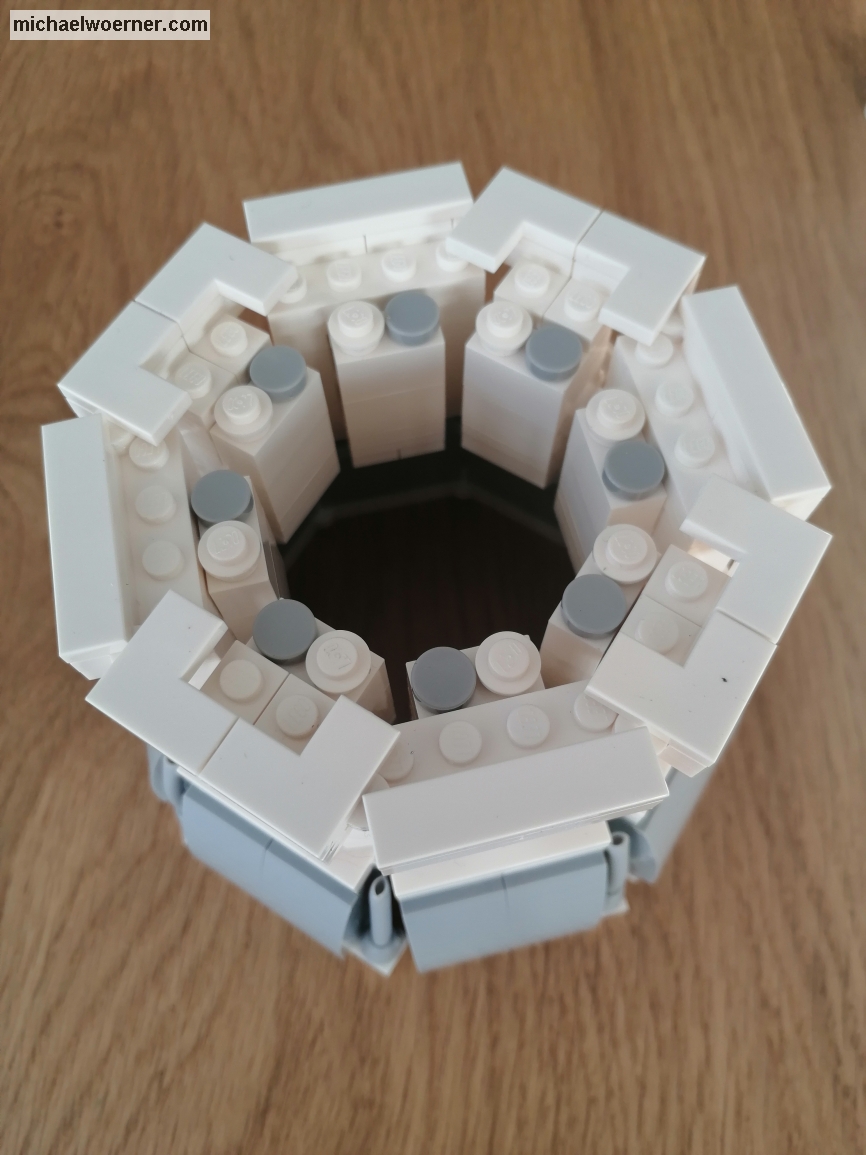
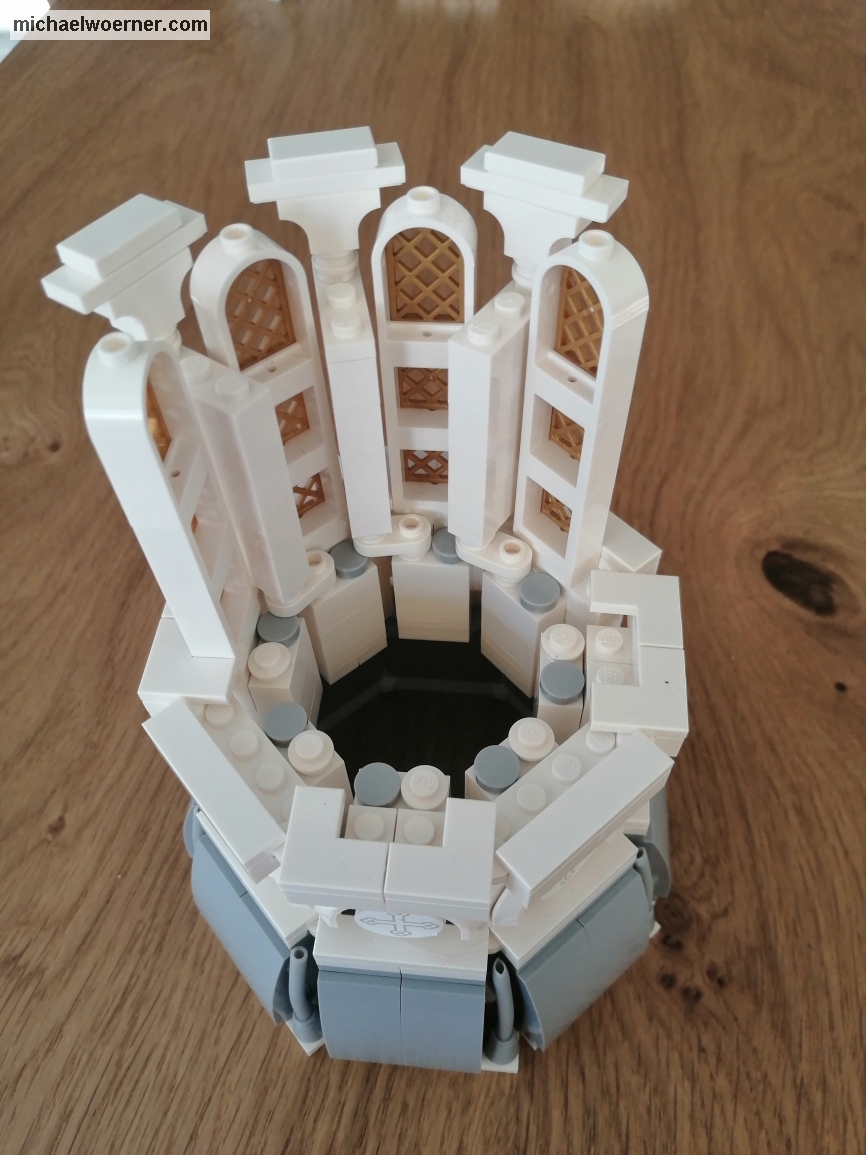
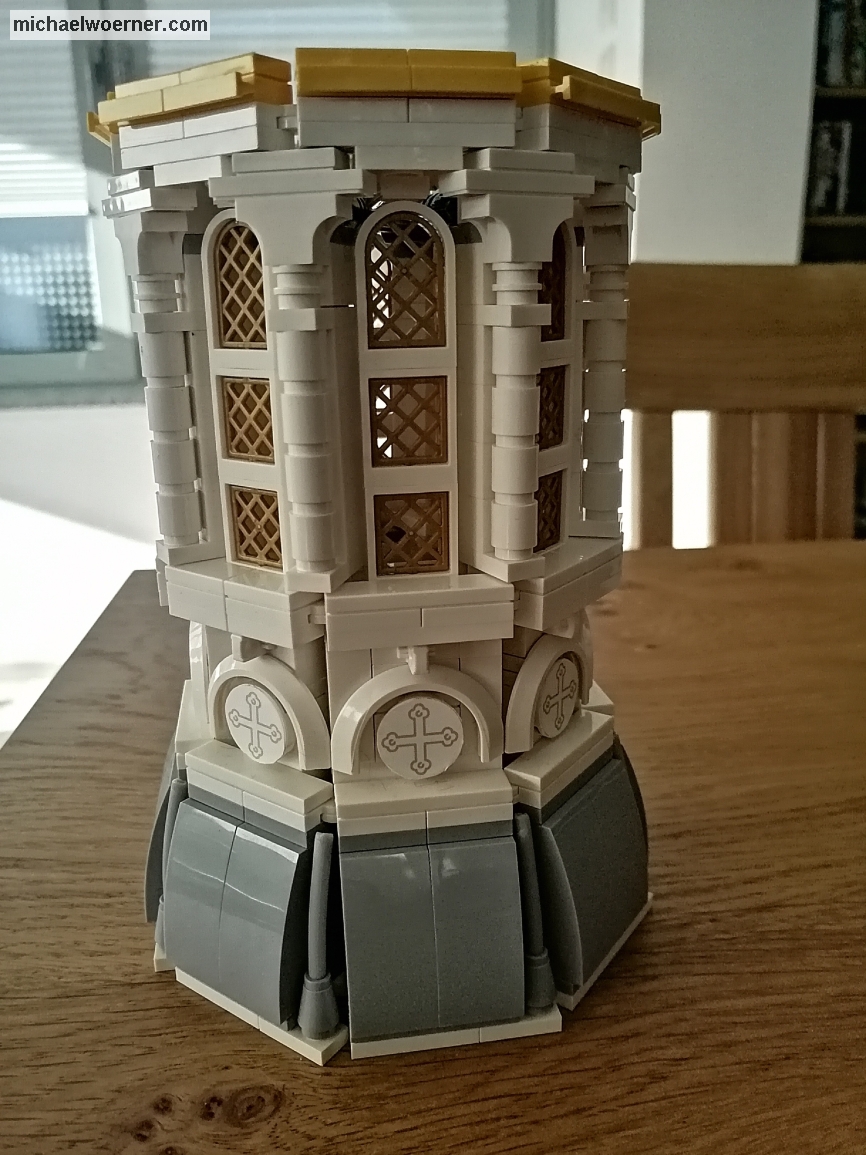
They are relatively small diameter towers with 8 columns and 4 windows. I tinkered a lot and discarded it because it didn’t fit, wasn’t pretty, or just wasn’t sturdy enough. I would like to share my development steps with you and hope that the coming pictures with a little explanation will be sufficient to clarify the difficulties that arise with such a model. Maybe I’ll show you some ideas how to realize such shapes that you haven’t thought of before.


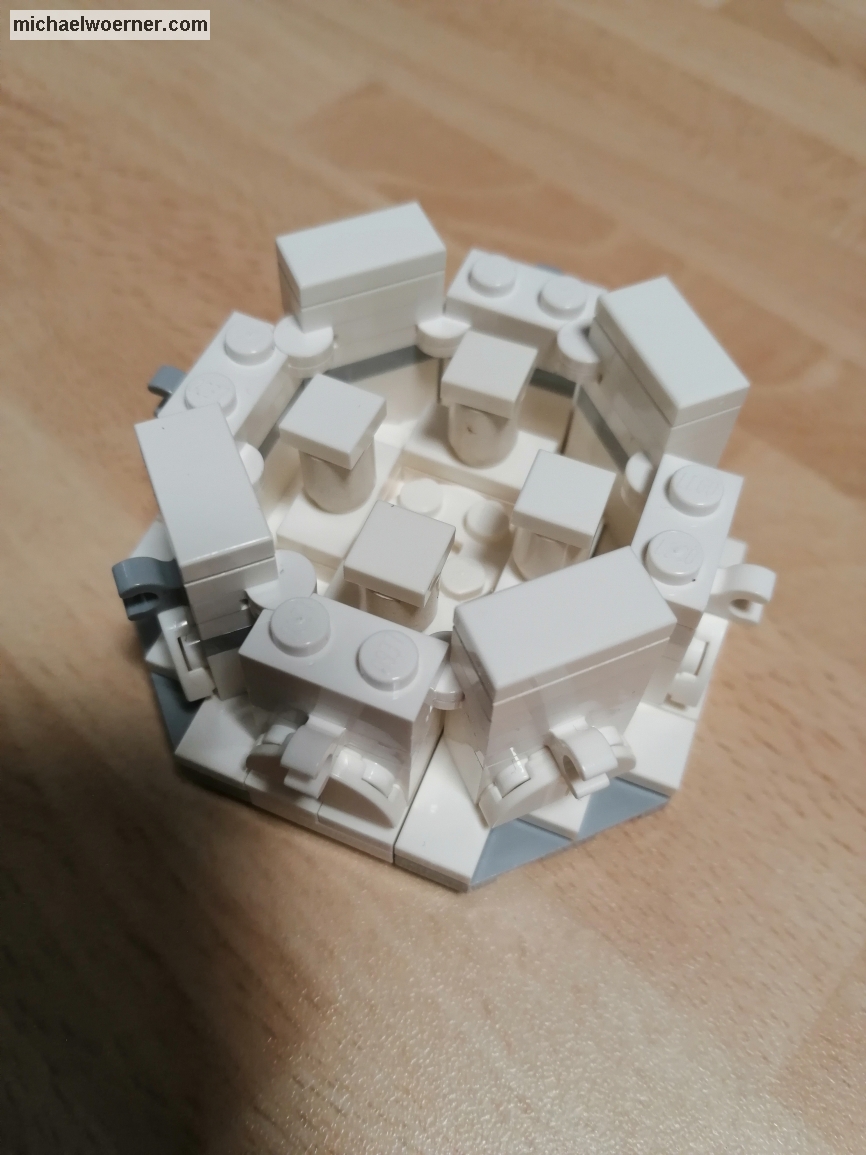
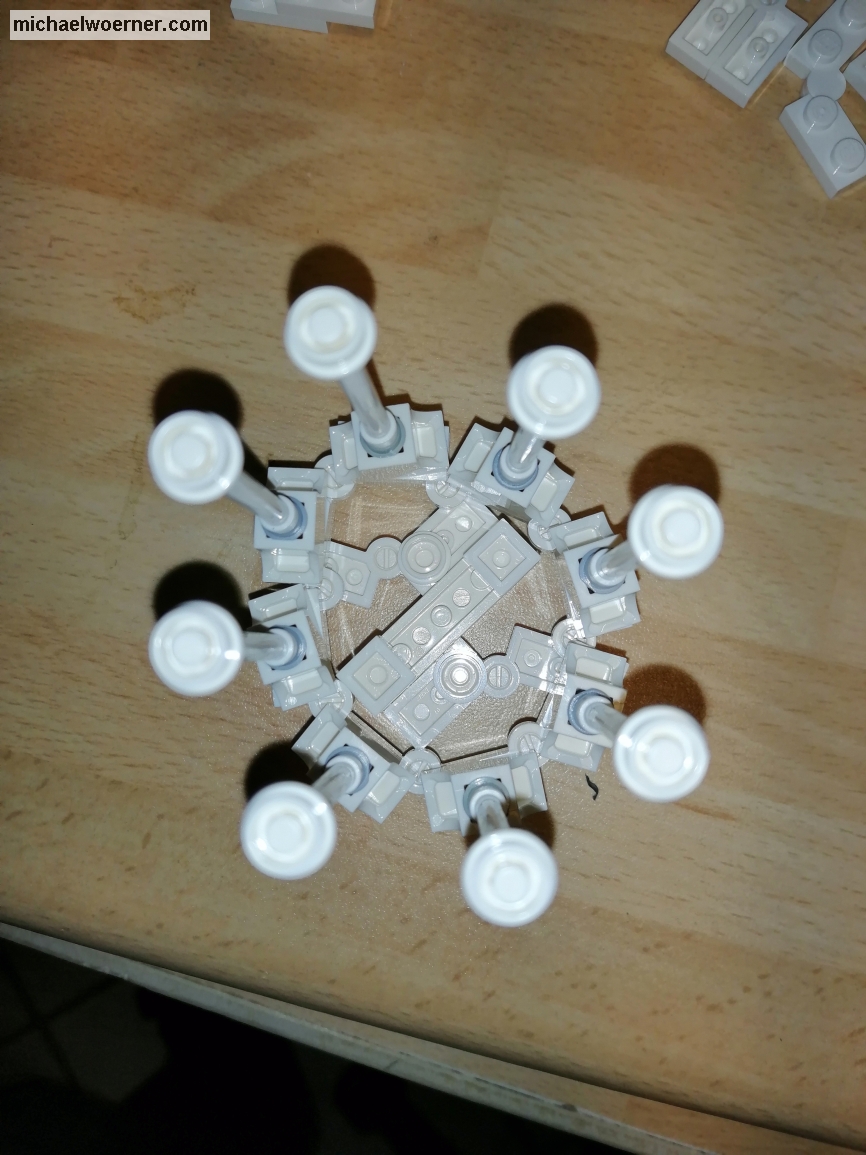
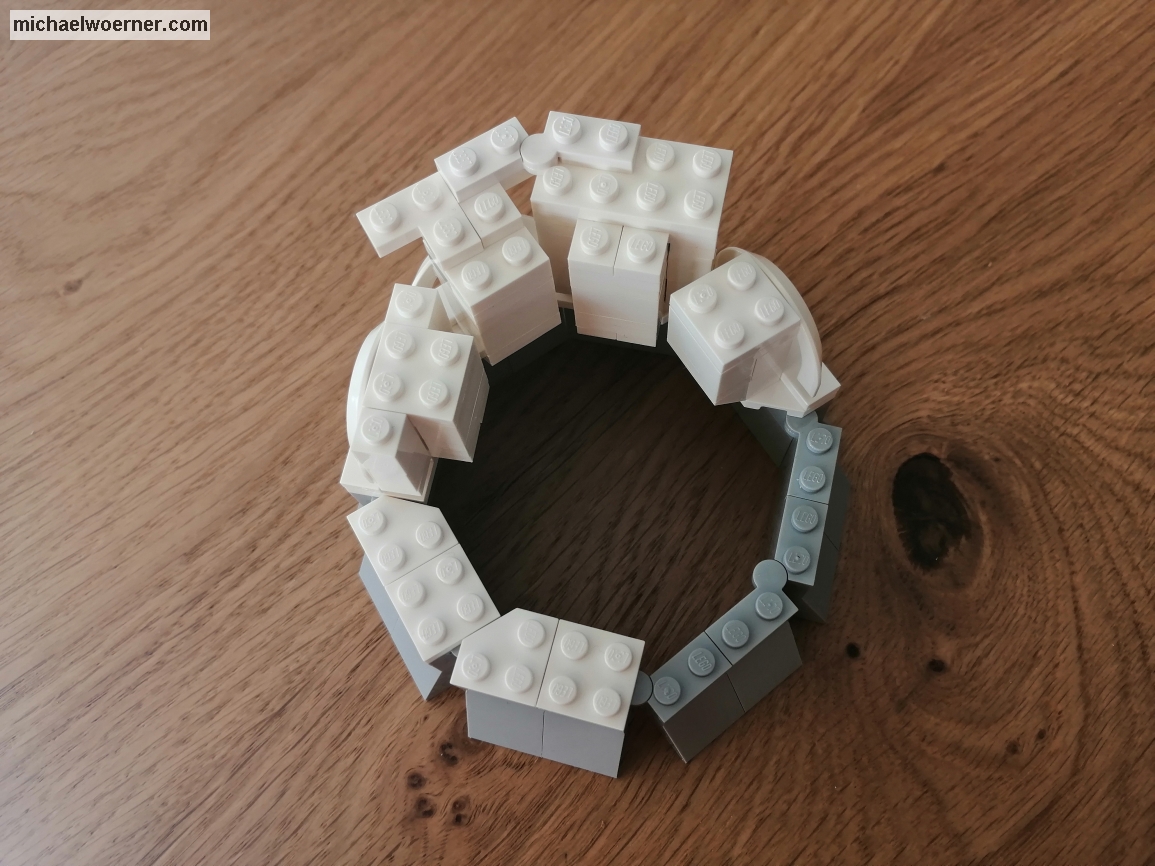
In the pictures you can see, the building corners have 8×8 pins and form an octagon. This is the base on which every tower is built. The inner “stools” are intended to give the windows built above them more stability so that they do not tilt inwards.


After that, the columns, windows and walls had to be accommodated in some way. As you can see from the previous picture, windows are not the problem. They are placed centered on the jumper. I had a solution that would have worked, but the walls were not high enough due to the plate + jumper + plate construction. To put the ring on it, I would have had to put another jumper on it. I also discarded this version.
But the columns and the walls should become a challenge, because the tower needs to continue above the windows. Finding a stable connection that is evenly round/octagon and fits on the lower part . . .
But see for yourself. Here are my (failed) attempts:


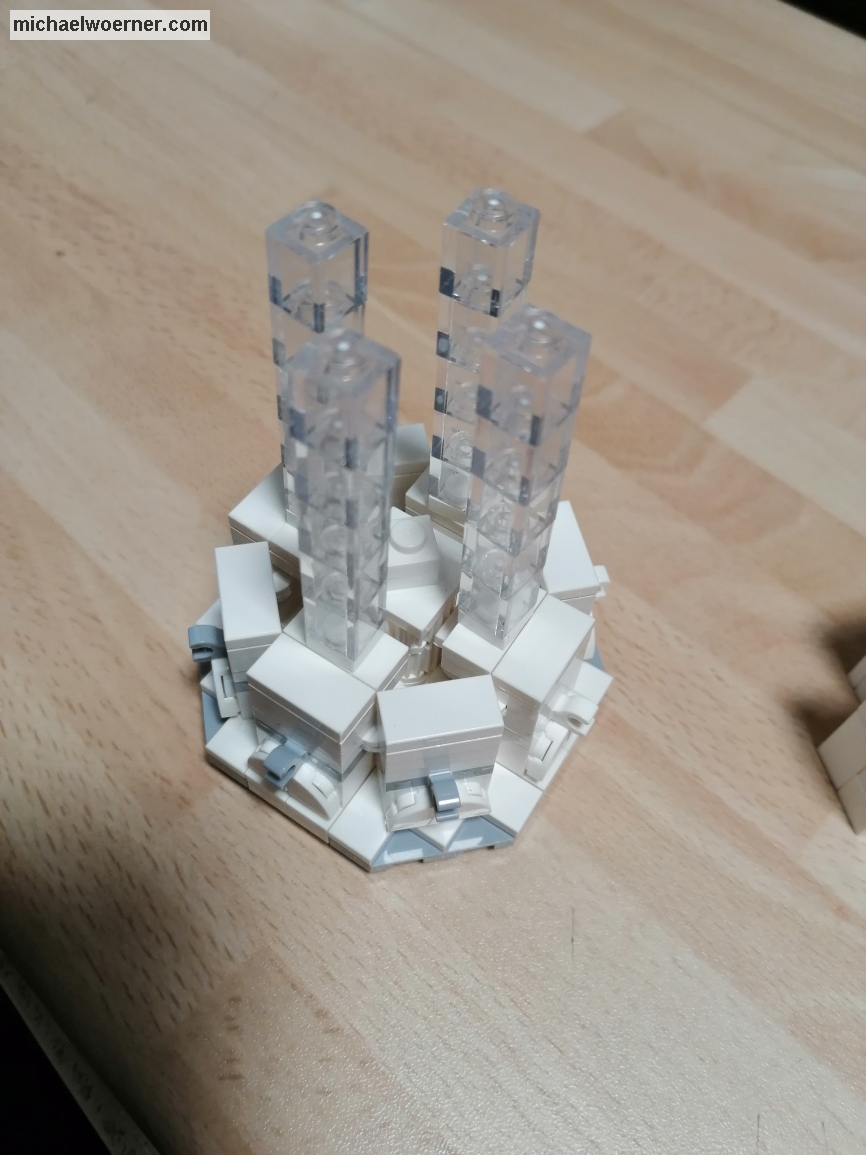
As seen above, the windows are placed at a 90° angle to each other. The walls are put on bricks with 4 pins on the sides (4733) and then stuck between the windows.


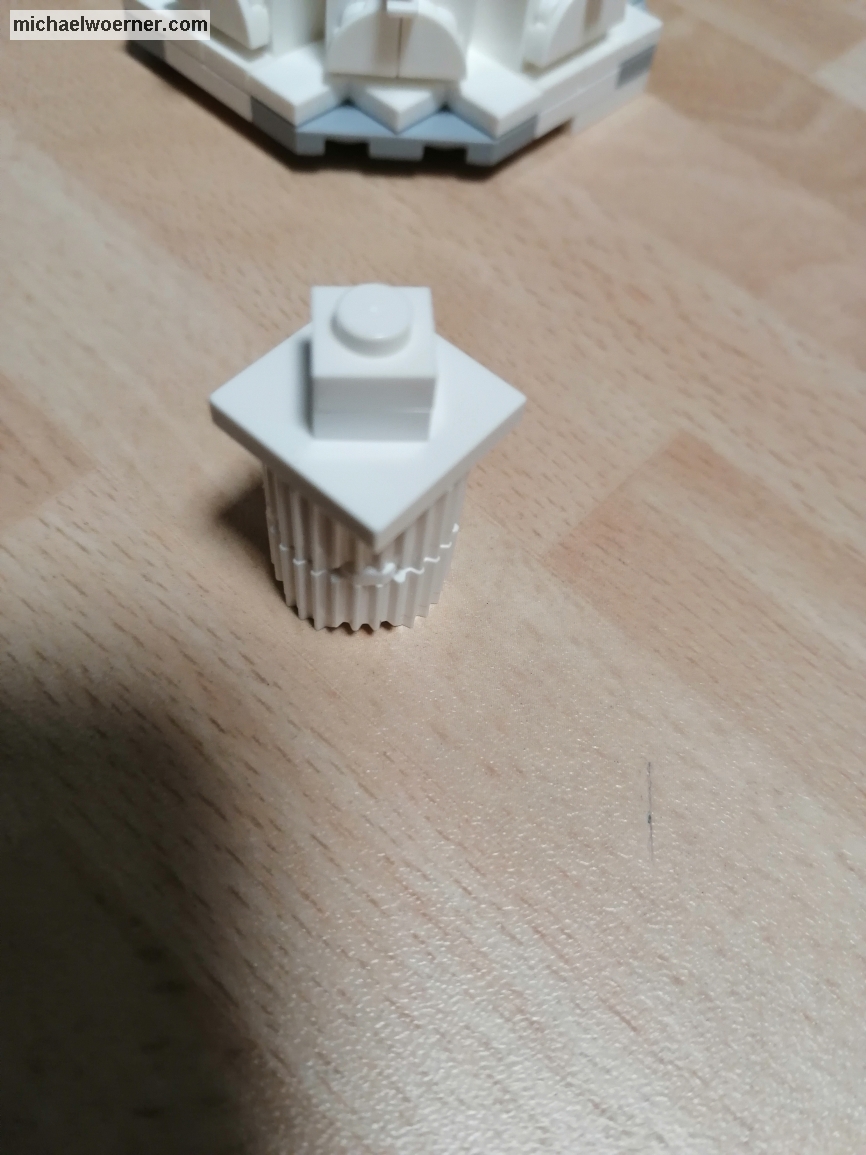
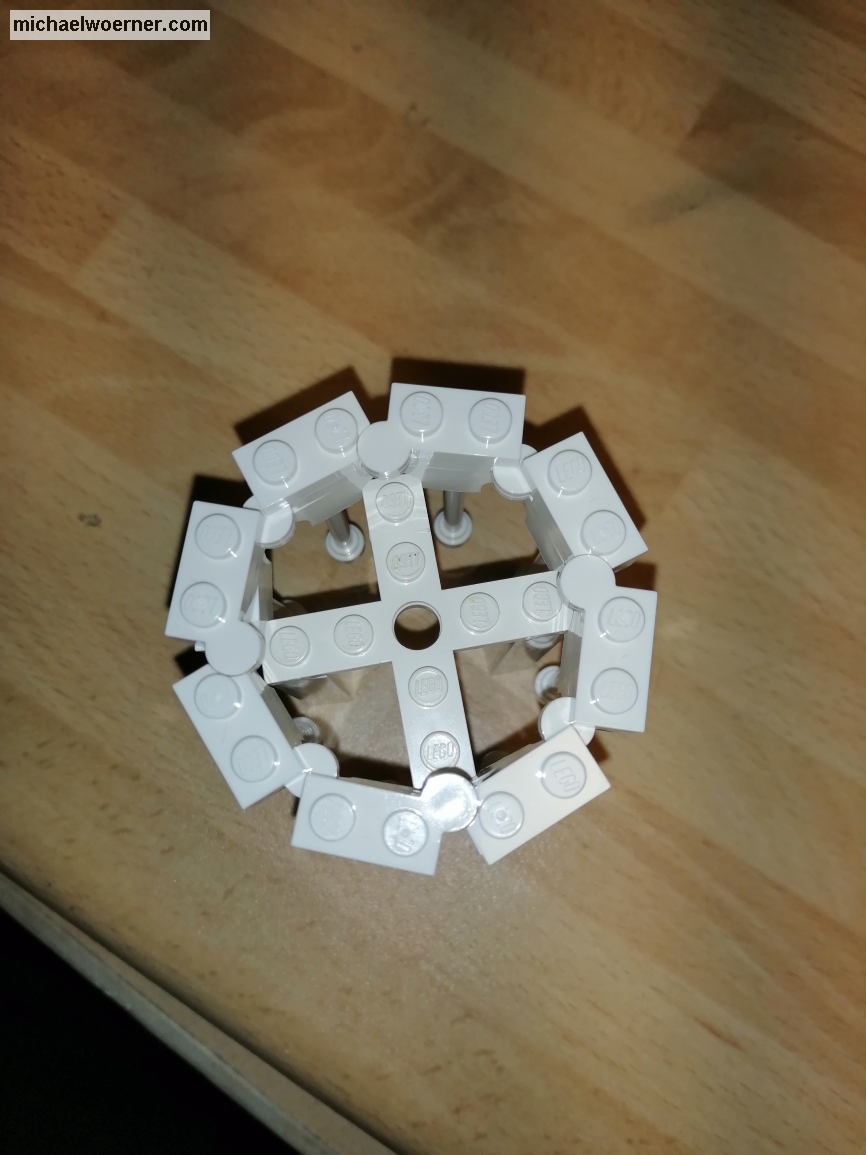
The pillars are in a ring in front of the walls and windows and run out in an arch to each other. They are connected to each other by hinged plates. The spacing of the sides cannot be connected to the normal Lego® grid. I had started to attach a hose ring to the inner part and then connect the outer part to it. But this proved to be unstable and difficult to implement.


Therefore, I have used the hoses elsewhere. The modified bricks with 4 pins have them perforated and a hose fits right in there. On the ring side there are round 1×1 plates with the same hole, which I used to fix the walls. The hole is provided with the same diameter.


Until next time

A new model is made – part 5

Today is the day. I think in the end it will become clear what kind of building is being constructed. As always, I’m interested in your solutions. Post them in the comments.

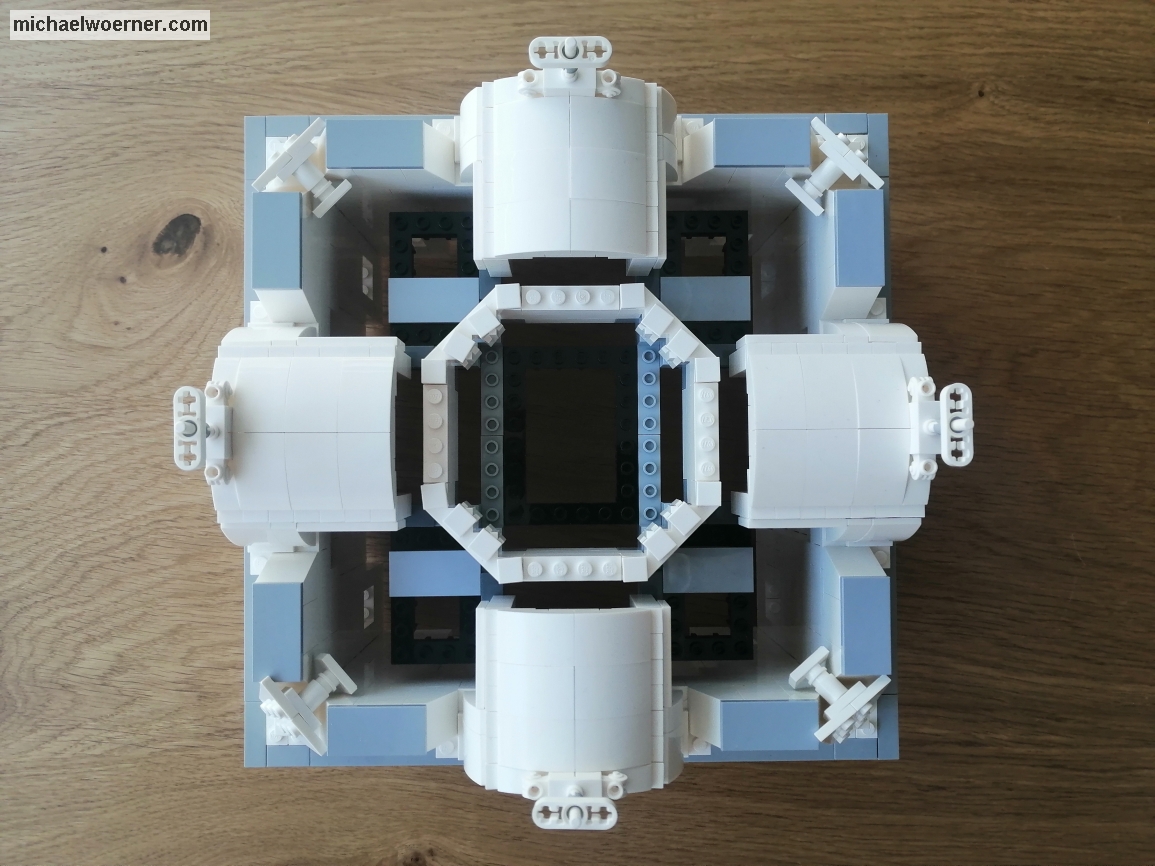
I start building the central tower today. I had finished the substructure in the last part and now I start thinking about how to divide the 8 windows, columns and walls in between. I am already sure that I will use the hinge plates (2429c01).

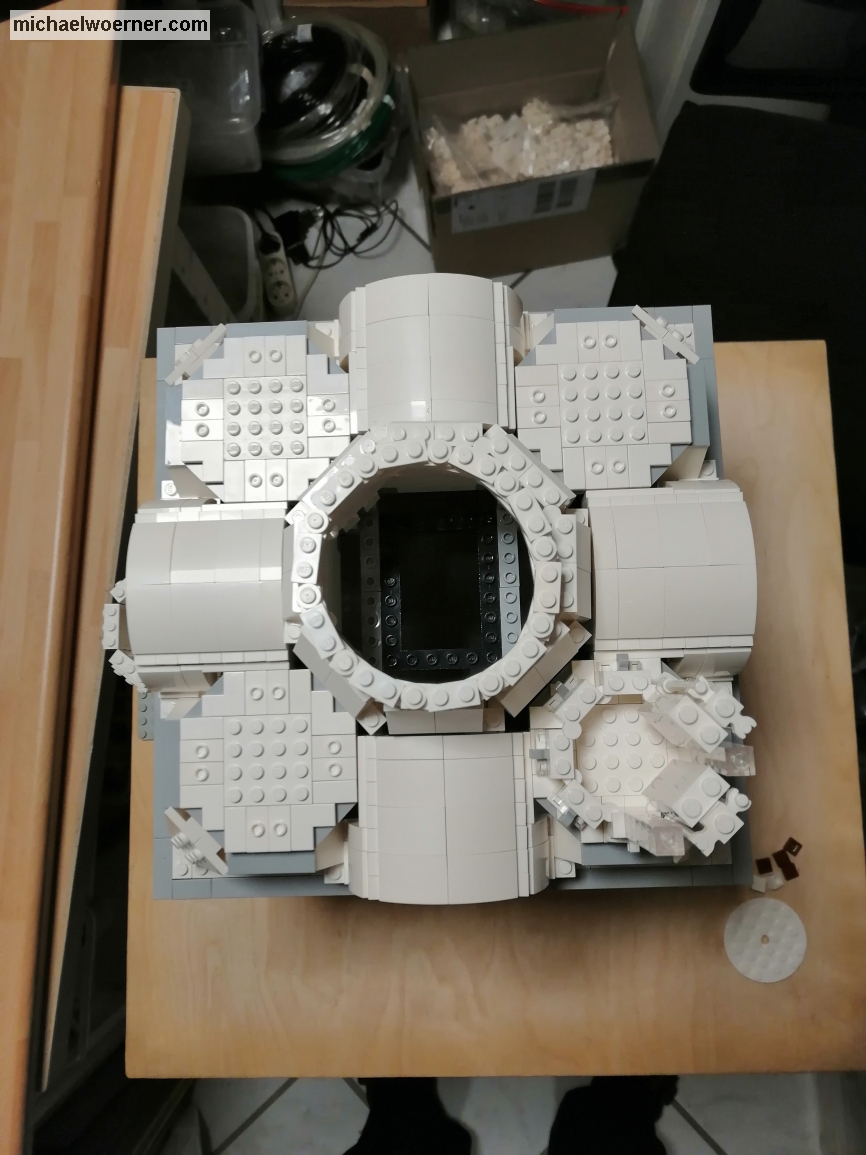
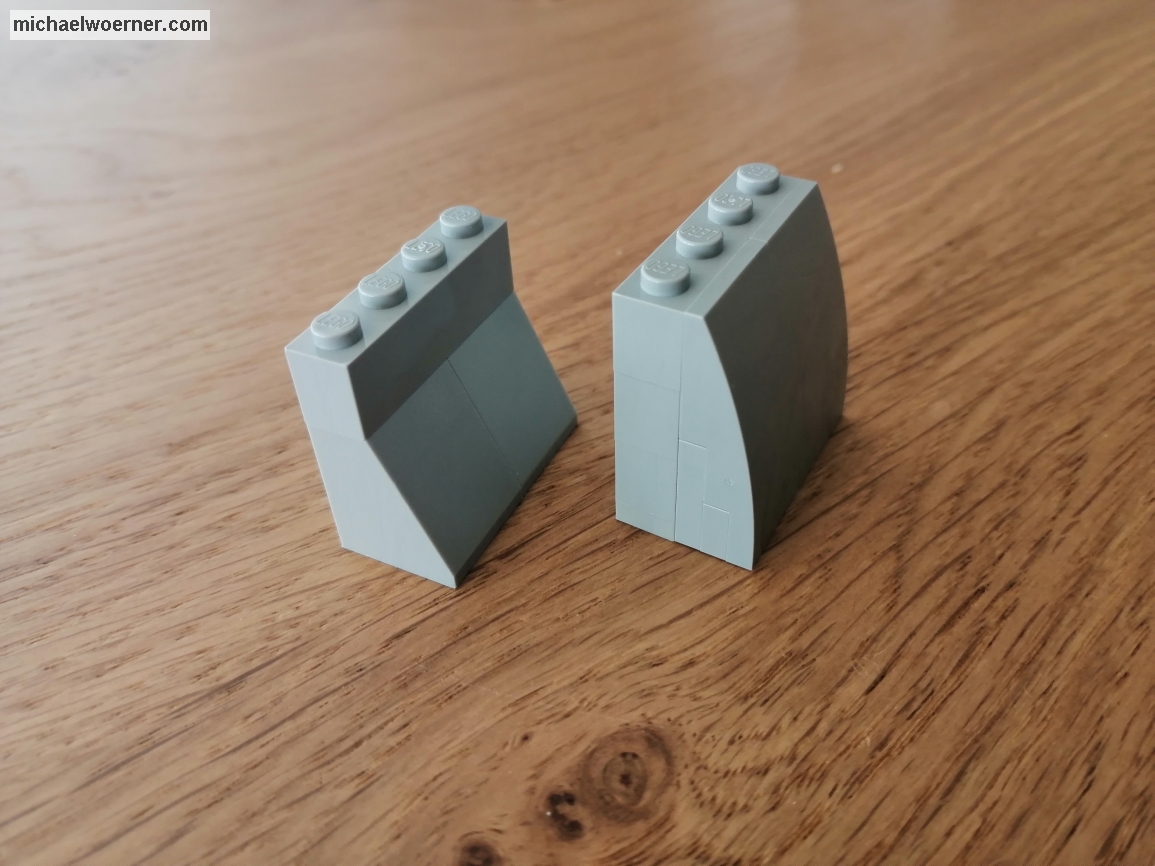
But before the windows and the rest I start with the foot of the tower. This tapers in an arc towards the top. This means that even less space is left for the windows & Co. I start by building 2x2x3 slopes (3768b) on top of the hinge plates, 8 pairs make the base. The size is just right and fits exactly in the gap between the barrel roofs. This leaves me with 4 pins on the outside and gives me the ledge. Later I exchange the 2x2x3 slanting bricks with curved slope 2×4 (93606). It’s more like the real tower. Between the resulting vertical 45° gaps I put a 1×1 cone with a hose.

I connected each element of the octagon with a 2×2 plate (3022) and a 2×2 wedge plate (26601). It’s such an exact fit in the angle that the hinges won’t move! Is also logical, because the wedge plate is provided with 45° angle. 8×45°=360°, as planned 😉


Directly above it follows a pedestal with an arch with a relief in it. I’m going to do this again with mudguards. But this time I use the others with the higher rounding (50745). They’re coming in a row behind the sill. But there is not enough room for 4 pins anymore. I build the socket alternately 2 and 4 pins wide at the front, behind all 2 pins wide. With the window sill above, I get a row further ahead, because the sill is slightly out and I’m back in the grid for the hinge plates to attach.


Then come the windows with the walls between them and the column in front. In the picture you can see how I did it. A description would probably not be understandable. I attach the top ring above the windows and the columns with a 1×2 jumper plate on the window and a 2×3 plate.


That completes the tower. The report about the dome and how it goes on with the roof is next time.

Until next time

A new model is made – part 4

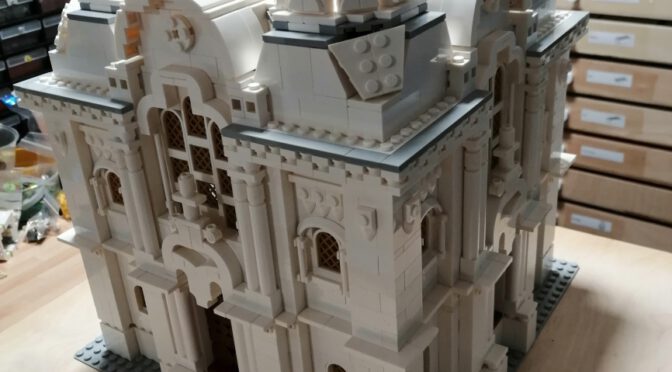
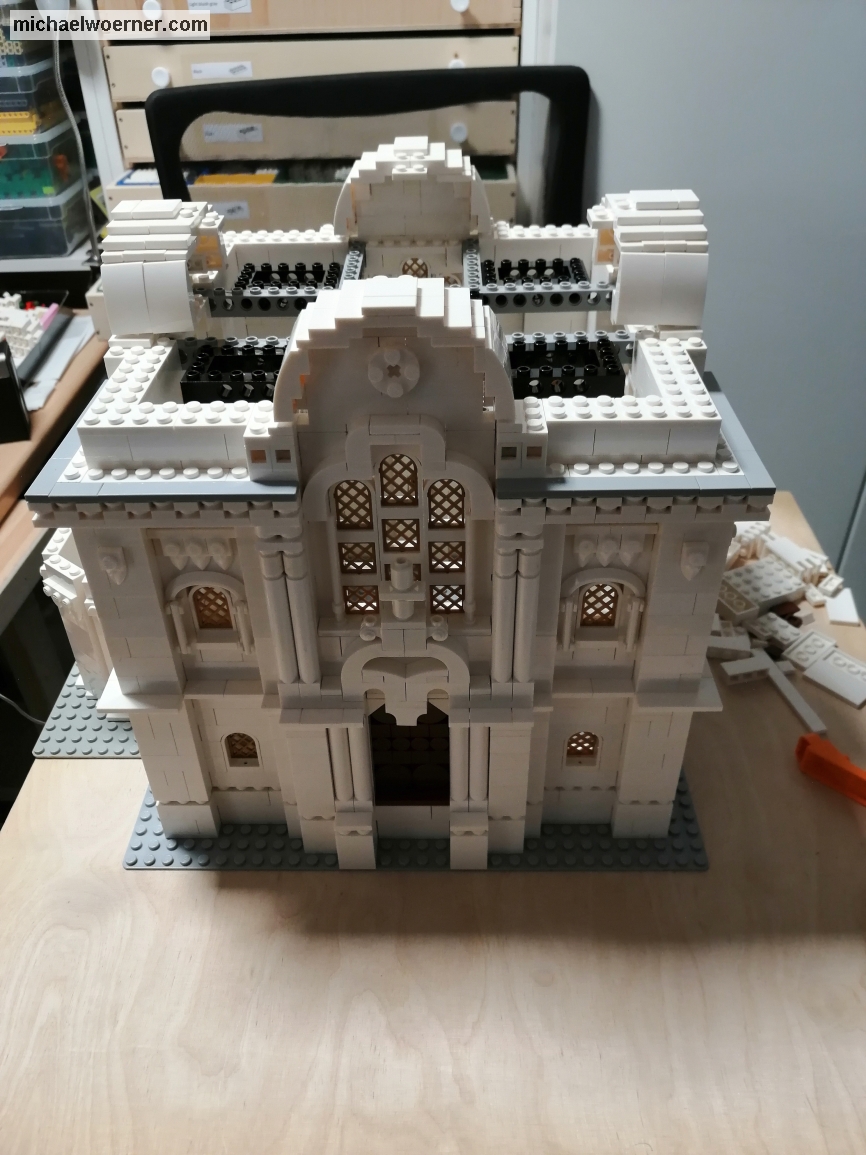
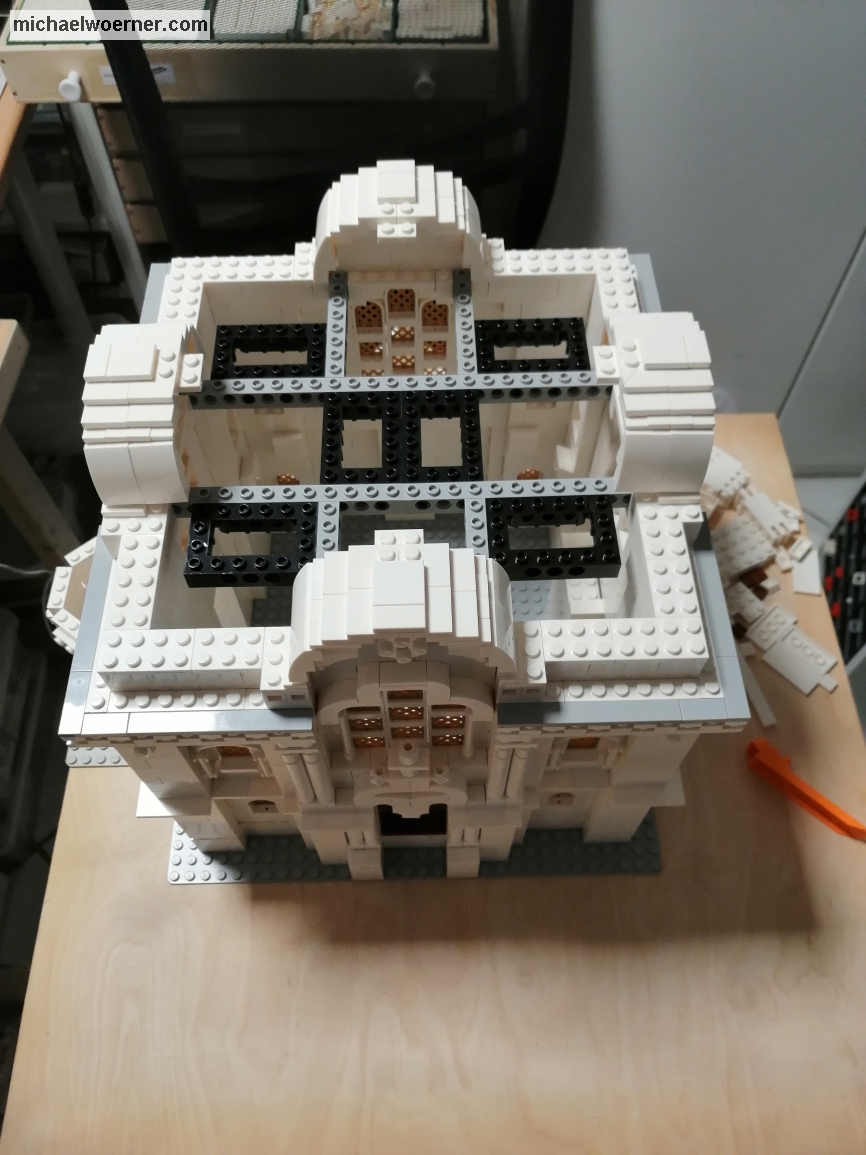
Now that the second floor is almost finished, I have to think about how to build the transition to the next area in this fourth part. There, barrel roofs are installed above the middle windows. The corners spring back a little and taper towards the top and centrally there is a tower.

I start with the barrel roofs and had thought about using the arches 1x6x3 1/3 (6060) to implement them. Unfortunately, the roofs would then be too wide with 12 pins. So I need another solution and had created a narrower roof using the SNOT technique (SNOT = Studs Not On Top) which fits just fine. For this I use curved slopes (24309 + 50950) for the sides and tiles on top, connected to the sides by bricks with pins on the side (87087). I rebuilt this roof shape later and also used the curved slopes at the top, because it came even closer to the real shape.


Since I haven’t built any columns in the building that can hold the tower, I need to come up with a design that is capable of holding this structure. It was clear that technic bricks must be used here. Only these are stable and narrow enough to bridge the distance between the outer walls. To build an intersection, in my case the best way is to use the square technic bricks. I use the 40344 because that’s what I have on hand. I figured with technic pins the elements would connect tightly enough to support the tower load. Later it turned out that the weight of the tower was so high that the structure underneath was sagging a bit. Therefore I built a column of two 2×4 bricks in cross bond underneath.

As mentioned above, the corners in the next level jump back a little and taper with the height a little. The vertical outside corner is also beveled and not an easy task to implement. The most suitable are bevelled plates. Unfortunately, this is not available as a tile. That would look best. I had the shape with 2 of these 2×3 wedge plates (43 222 + 43 723) and it fit well into the gap, but the fixing was not possible in normal way. I had no choice but to clamp. Not very stable, but enough for a stationary model.

The last step for today is the tower base, it was easy to build. With bricks Facet 4×4 (14413) the substructure was quickly completed.

With these pictures I end today’s report. I think by now you’ve guessed what this is going to be. Write me your solution in the comments.

Until next time.

Wir benutzen Cookies nur für statistische Zwecke. View more
Cookies settings
Accept
Privacy & Cookie policy
Privacy & Cookies policy
Cookie name Active
Geltungsbereich Diese Datenschutzerklärung soll die Nutzer dieser Website gemäß Bundesdatenschutzgesetz und Telemediengesetz über die Art, den Umfang und den Zweck der Erhebung und Verwendung personenbezogener Daten durch den Websitebetreiber [Michael Wörner] informieren. Der Websitebetreiber nimmt Ihren Datenschutz sehr ernst und behandelt Ihre personenbezogenen Daten vertraulich und entsprechend der gesetzlichen Vorschriften. Bedenken Sie, dass die Datenübertragung im Internet grundsätzlich mit Sicherheitslücken bedacht sein kann. Ein vollumfänglicher Schutz vor dem Zugriff durch Fremde ist nicht realisierbar.

Zugriffsdaten

Der Websitebetreiber bzw. Seitenprovider erhebt Daten über Zugriffe auf die Seite und speichert diese als „Server-Logfiles“ ab. Folgende Daten werden so protokolliert:
  • Besuchte Website
  • Uhrzeit zum Zeitpunkt des Zugriffes
  • Menge der gesendeten Daten in Byte
  • Quelle/Verweis, von welchem Sie auf die Seite gelangten
  • Verwendeter Browser
  • Verwendetes Betriebssystem
  • Verwendete IP-Adresse
Die erhobenen Daten dienen lediglich statistischen Auswertungen und zur Verbesserung der Website. Der Websitebetreiber behält sich allerdings vor, die Server-Logfiles nachträglich zu überprüfen, sollten konkrete Anhaltspunkte auf eine rechtswidrige Nutzung hinweisen.

Cookies

Diese Website verwendet Cookies. Dabei handelt es sich um kleine Textdateien, welche auf Ihrem Endgerät gespeichert werden. Ihr Browser greift auf diese Dateien zu. Durch den Einsatz von Cookies erhöht sich die Benutzerfreundlichkeit und Sicherheit dieser Website. Gängige Browser bieten die Einstellungsoption, Cookies nicht zuzulassen. Hinweis: Es ist nicht gewährleistet, dass Sie auf alle Funktionen dieser Website ohne Einschränkungen zugreifen können, wenn Sie entsprechende Einstellungen vornehmen.

Umgang mit personenbezogenen Daten

Der Websitebetreiber erhebt, nutzt und gibt Ihre personenbezogenen Daten nur dann weiter, wenn dies im gesetzlichen Rahmen erlaubt ist oder Sie in die Datenerhebung einwilligen. Als personenbezogene Daten gelten sämtliche Informationen, welche dazu dienen, Ihre Person zu bestimmen und welche zu Ihnen zurückverfolgt werden können – also beispielsweise Ihr Name, Ihre E-Mail-Adresse und Telefonnummer.

Umgang mit Kontaktdaten

Nehmen Sie mit dem Websitebetreiber durch die angebotenen Kontaktmöglichkeiten Verbindung auf, werden Ihre Angaben gespeichert, damit auf diese zur Bearbeitung und Beantwortung Ihrer Anfrage zurückgegriffen werden kann. Ohne Ihre Einwilligung werden diese Daten nicht an Dritte weitergegeben.

Umgang mit Kommentaren und Beiträgen

Hinterlassen Sie auf dieser Website einen Beitrag oder Kommentar, wird Ihre IP-Adresse gespeichert. Dies dient der Sicherheit des Websitebetreibers: Verstößt Ihr Text gegen das Recht, möchte er Ihre Identität nachverfolgen können.

Rechte des Nutzers: Auskunft, Berichtigung und Löschung

Sie als Nutzer erhalten auf Antrag Ihrerseits kostenlose Auskunft darüber, welche personenbezogenen Daten über Sie gespeichert wurden. Sofern Ihr Wunsch nicht mit einer gesetzlichen Pflicht zur Aufbewahrung von Daten (z. B. Vorratsdatenspeicherung) kollidiert, haben Sie ein Anrecht auf Berichtigung falscher Daten und auf die Sperrung oder Löschung Ihrer personenbezogenen Daten.  
Save settings
Cookies settings