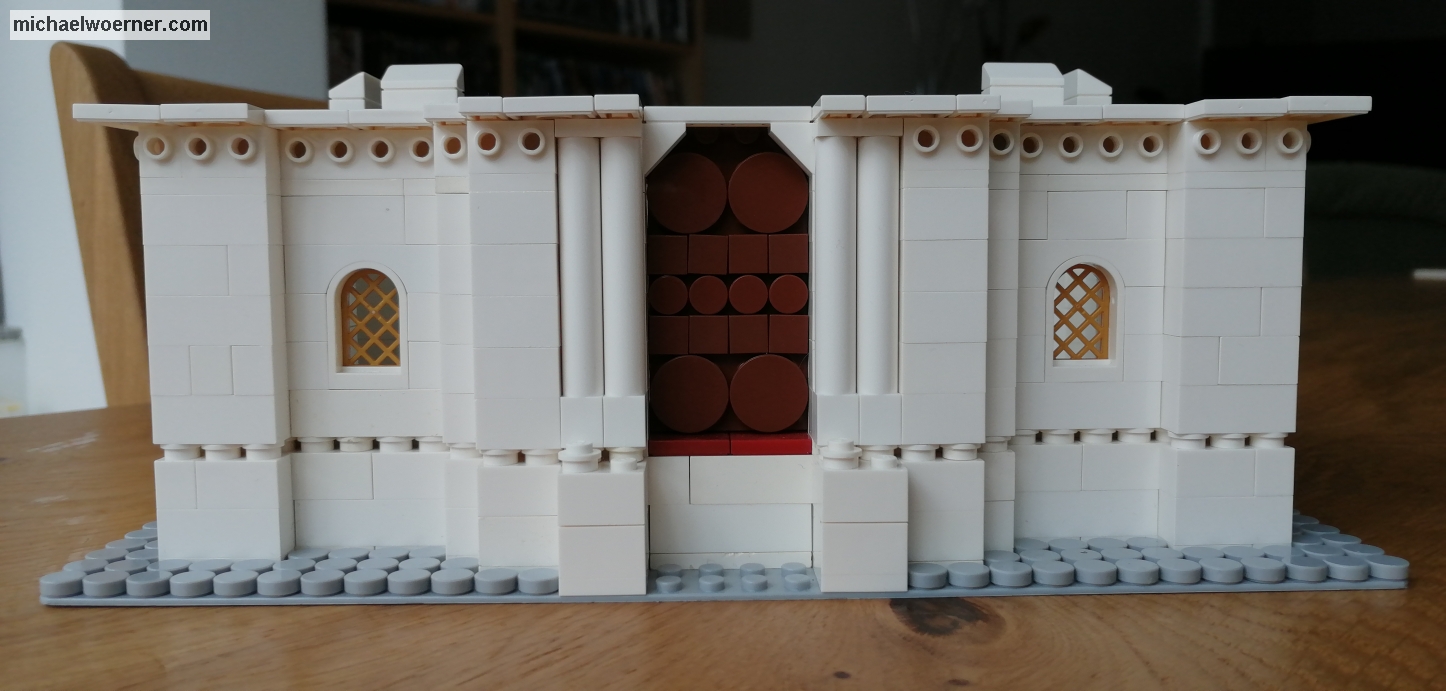
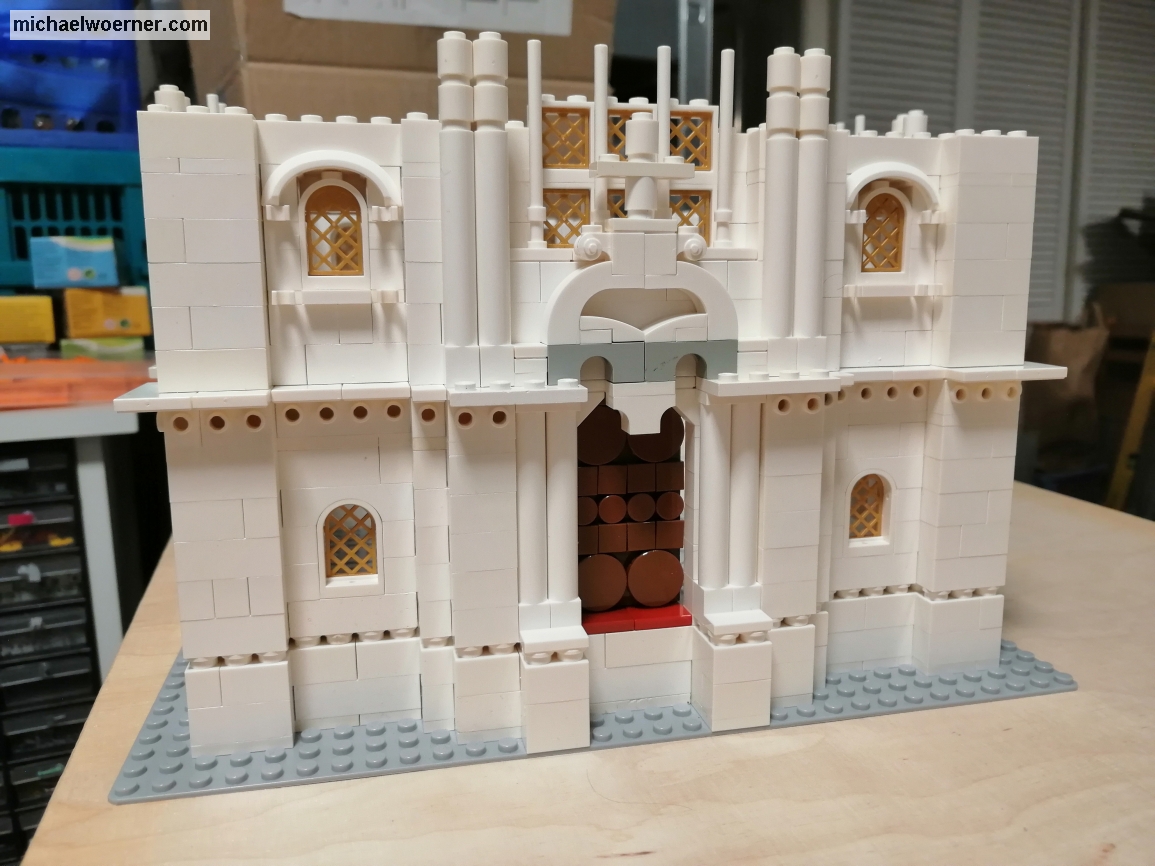
Last time I built the first “foundation walls. ” Today I would like to report on the further construction of the wall with the corresponding openings, corners and niches.
After the initial considerations regarding the basic form were implemented in the first construction phase, care must now be taken to maintain the individual heights. The principle is the same as for the width of the building. I put the horizontal steps and heights of the windows, cornices and individual floors together in proportion to the width that already existed. Here it is important to take the same measurements, otherwise the height will not be correct later and the building will be too low or too high. In height the realization is a bit easier, because Plates have a height of 3.2mm and therefore only take up a third of his Brick.
I had already considered using ready-made window elements in the last part. The choice was 2 pins wide, 3 rows high, semi-circular windows (30044) with grilles (30046). Unfortunately, the color selection is very limited with Lego® and with grids in particular. I decided to go with the gold because the contrast with black compared to the white walls, would be way too stark. When installing, I had to decide whether to use jumperplates (15573) to move the windows back half a brick.It looks more and more pleasing, and if you look at reality, it is very often the case. Unfortunately, I would have caught a problem 3 rows further. The windows have an arch at the top and a pin in the middle. The standard arches framing the windows at the top would not fit because of this pins. Fortunately, the grilles are not mounted in the middle of the window, but on one side. Thus there is the possibility to set the grid inside, and thus offset back, or outside flush. I decided to go inside.
The next step are the columns. My building has obstructed columns. Unfortunately, in at least 3 different thicknesses. At my scale, a wider column than 1 pin is not feasible, or the part will be too wide and I won’t be able to keep my scale. That means compromise again. But we Lego model builders are used to that. I decide to use the 1x1x6 rods (43888).
The next hurdle is the transition to the next floor. There’s a ledge all around here. Of course only a few cm wide in reality. For my model this means only 1-2mm. This modified plate (32028) comes directly to my mind. But you can’t because there are no inside or outside corners. That wouldn’t look good. The same applies to the jumper plates. So slabs or tiles? With Plates I have the pins standing, I don’t like that. Tiles do not have these and so they are my choice. At the same time, they also allow to build the model Modular. To create a separation point for better transportation.


The second floor is almost identical to the first. But the windows have much more ornaments and a column frame all around. with the little space that the scale allows me to implement a tricky thing. I have re-entitled the side columns with 3 bars (87 994) and the upper arch with a mudguard (98282) and am satisfied with the result. The arches in the middle are next. I tried to recreate it with different elements, but it’s not that filigree with Lego. Nevertheless, you can see what it is meant to represent. The columns in front of the windows behind them are realized by rods (63 965) and cut tubes (75c24).
The picture still shows parts that need to be replaced. I either don’t have the part there or it’s in the wrong color. In order to move forward, I therefore use these and can continue building like this.
That’s it for today, until the next post.

